![]()
This tutorial discusses how I use borders and blends. It is broken down into three sections: Grass Cuts, Bunkers, and Native Areas. In each section I first describe the files used and then go into specific applications of them. Included below is a download of the custom masks and native area textures used in this tutorial.
| Download: |
|---|
The numbers given for widths are the numbers I currently use. For reference I note the conversion to imperial units but this is not used in the editor, regardless of your settings in the game. Feel free to experiment and see what you like as there is always room for improvement. One thing to note, playing the course in the editor produces a lower resolution version of the textures and is not representative of how it looks after publishing. Because of this, when I experiment with changing how I do blends, I use a test course with only a few shapes on it that publishes fast.
I use blends to create an illusion of depth to grass cuts. Originally I used darker, wider blends than listed below but eventually I decided that a more subtle look is better. It is tempting to make the effect stand out more but rather than call attention to itself, the effect is better if it looks more natural. As a result it might not look like much on its own but when compared to a hard edge with no blend, the visual difference is still significant.
| File: | MASK 51.tga |
|---|---|
| Width: | 0.05 |
| Example Use: | Fairway to First Cut, Fringe to First Cut |
| Description: | This is a custom blend I made for sharp defined grass cuts. The mask fades the shape's texture creating a shadow and the illusion that the taller grass is higher. At the mid-point it cuts hard to the underlying shape. |
| File: | MASK 52.tga |
|---|---|
| Width: | 0.05 |
| Example Use: | First Cut to Rough, Fairway to Rough, Tee to Rough, Cart Path to Rough (to give a rough edge to the taller rough grass) Green to Fringe, Fringe to Fairway (due to little difference in cut height) |
| Description: | I made this custom blend with a less defined cut by making it darker near the mid-point cut. I use this blend whenever the outer texture is tall grass needing a rougher edge. I also use it when the difference in the cuts is not that great. |
| Border Width: | 1.5 |
|---|---|
| Blend Widths: | 0.05 |
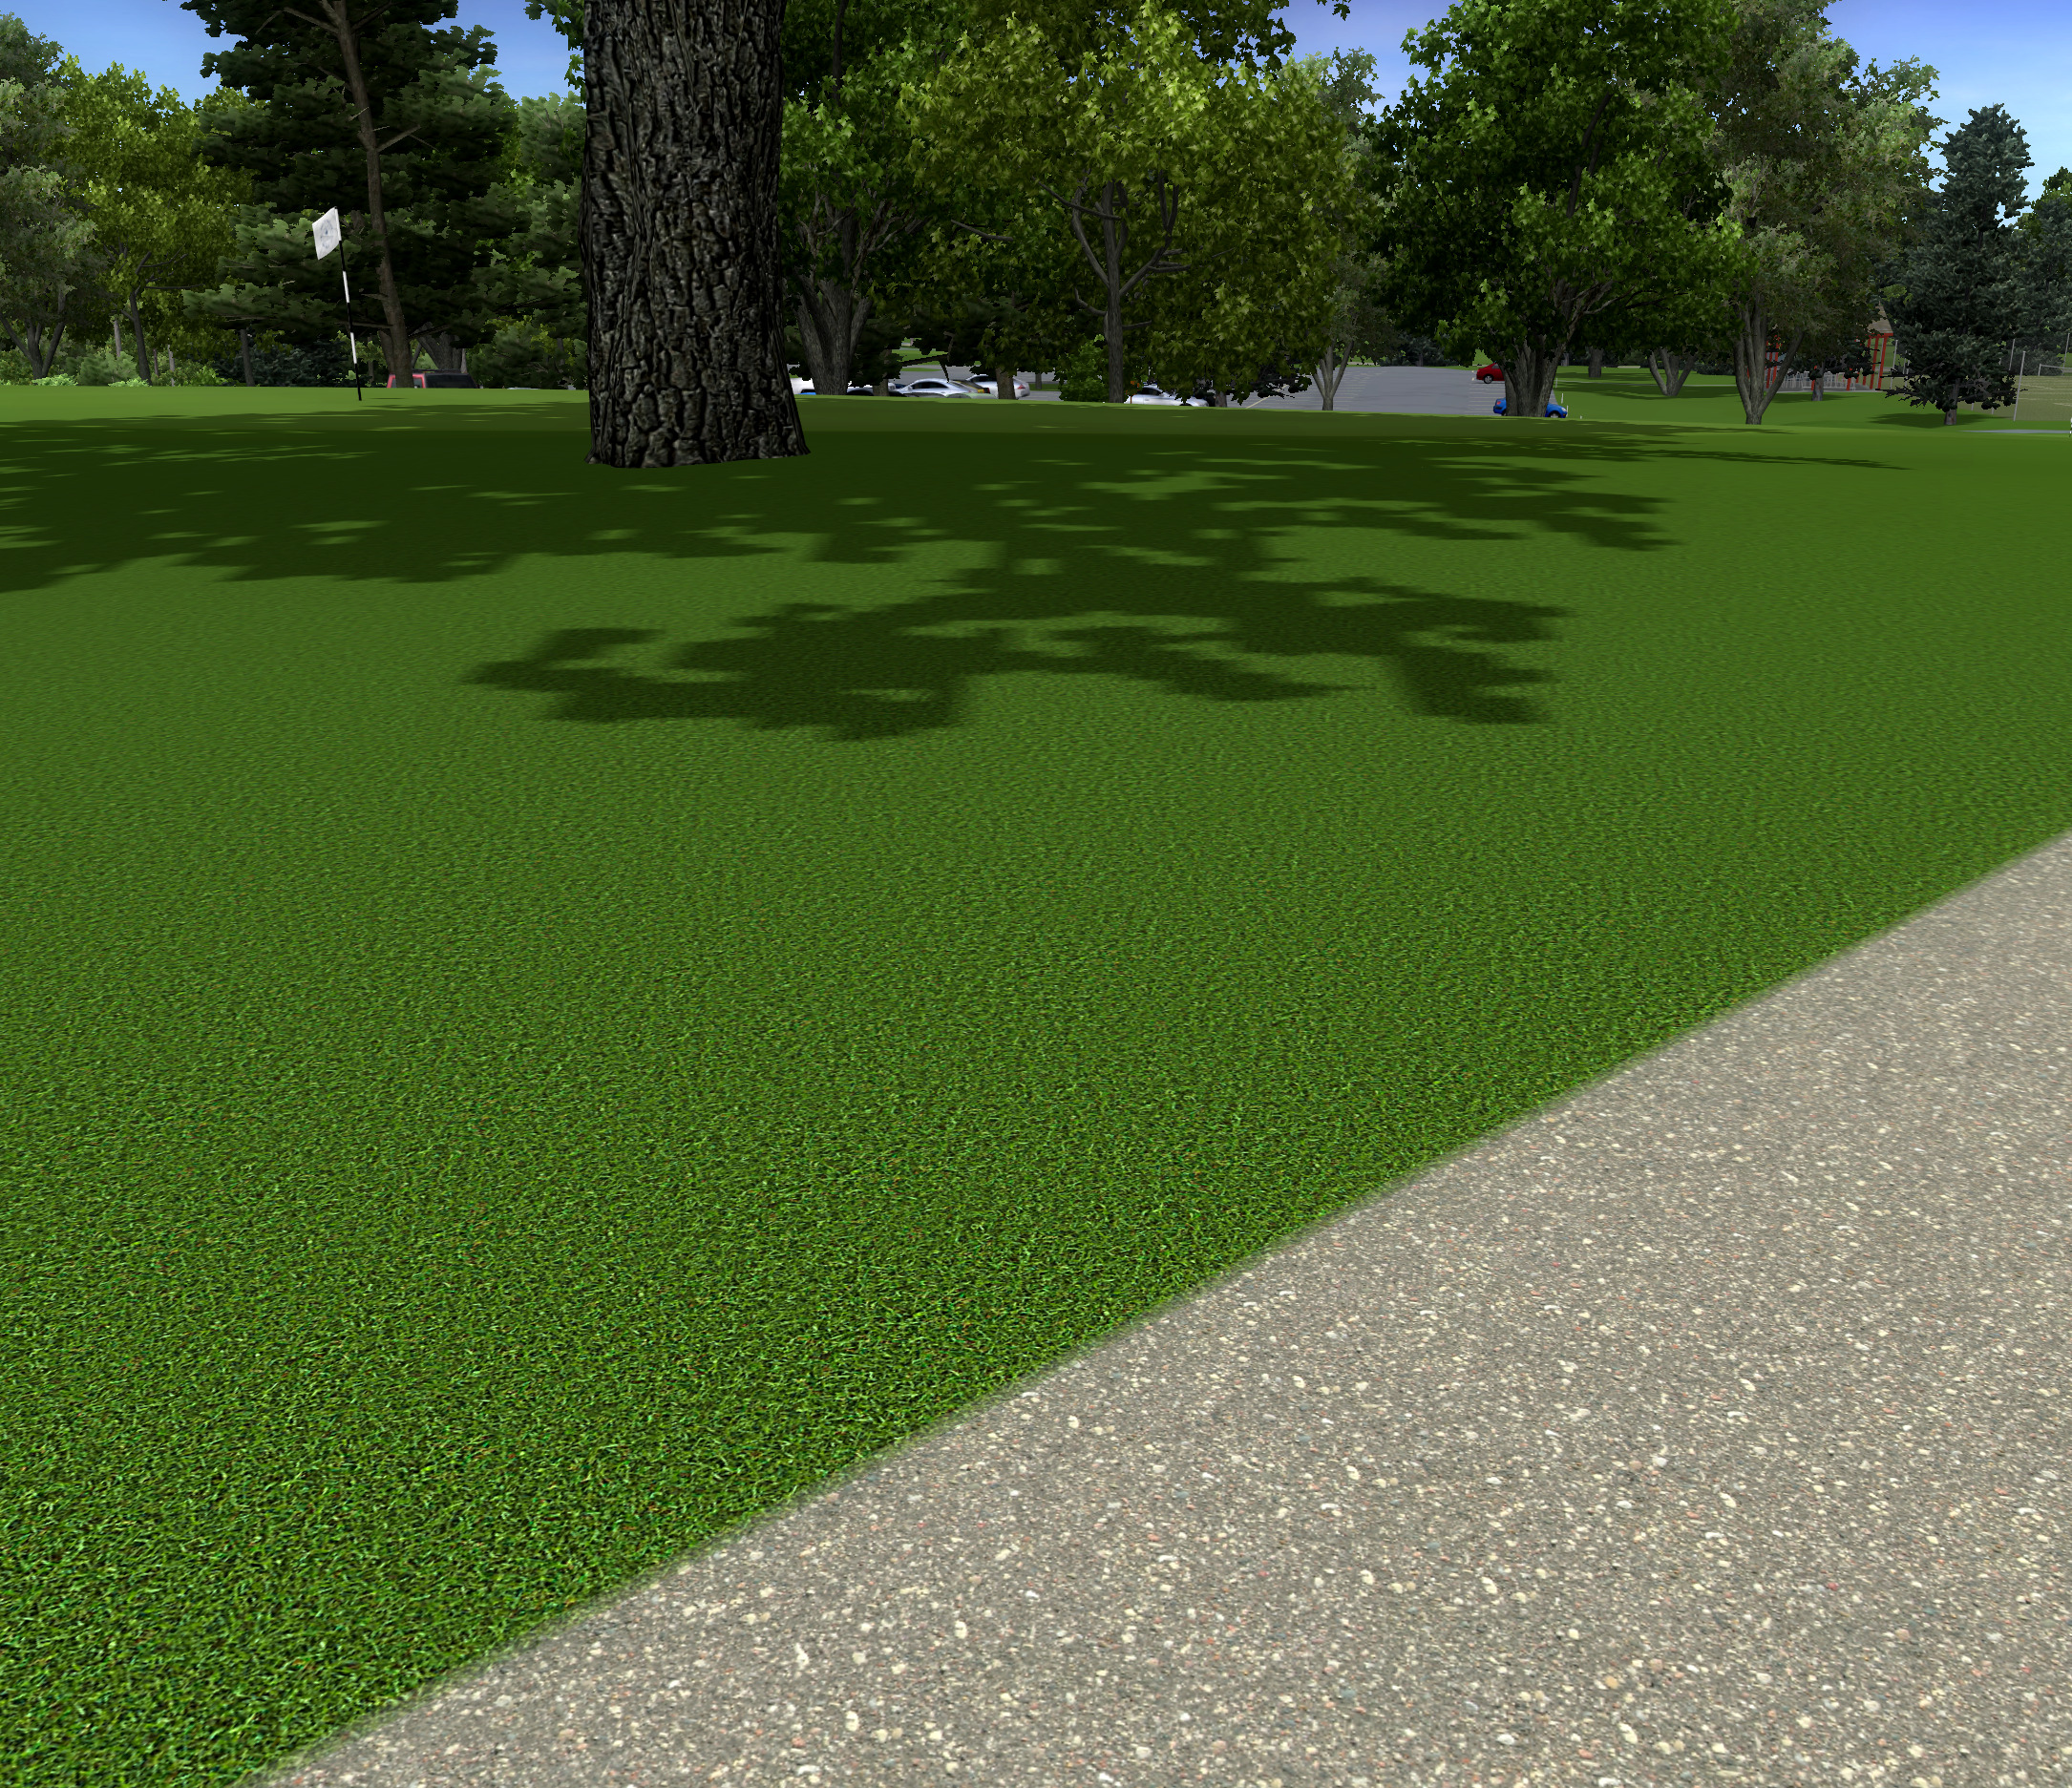
When creating fairways with first cuts I add a border to the fairway shape for the first cut and set the border width to 1.5 (~ 5 feet).
For blends I use MASK 51.tga on the main fairway shape and MASK 52.tga on the first cut border.
MASK 79.tga is a hybrid of these two masks that I created for bunker lips and is discussed in more detail in the bunker lip section. I mention it here because if you prefer to simplify things, you can use MASK 79.tga in place of both of them. It's a little less specialized but using MASK 79.tga on all of your cuts still achieves a nice look.
I set the blend width for both to the minimum of 0.05 (~ 2 inches).
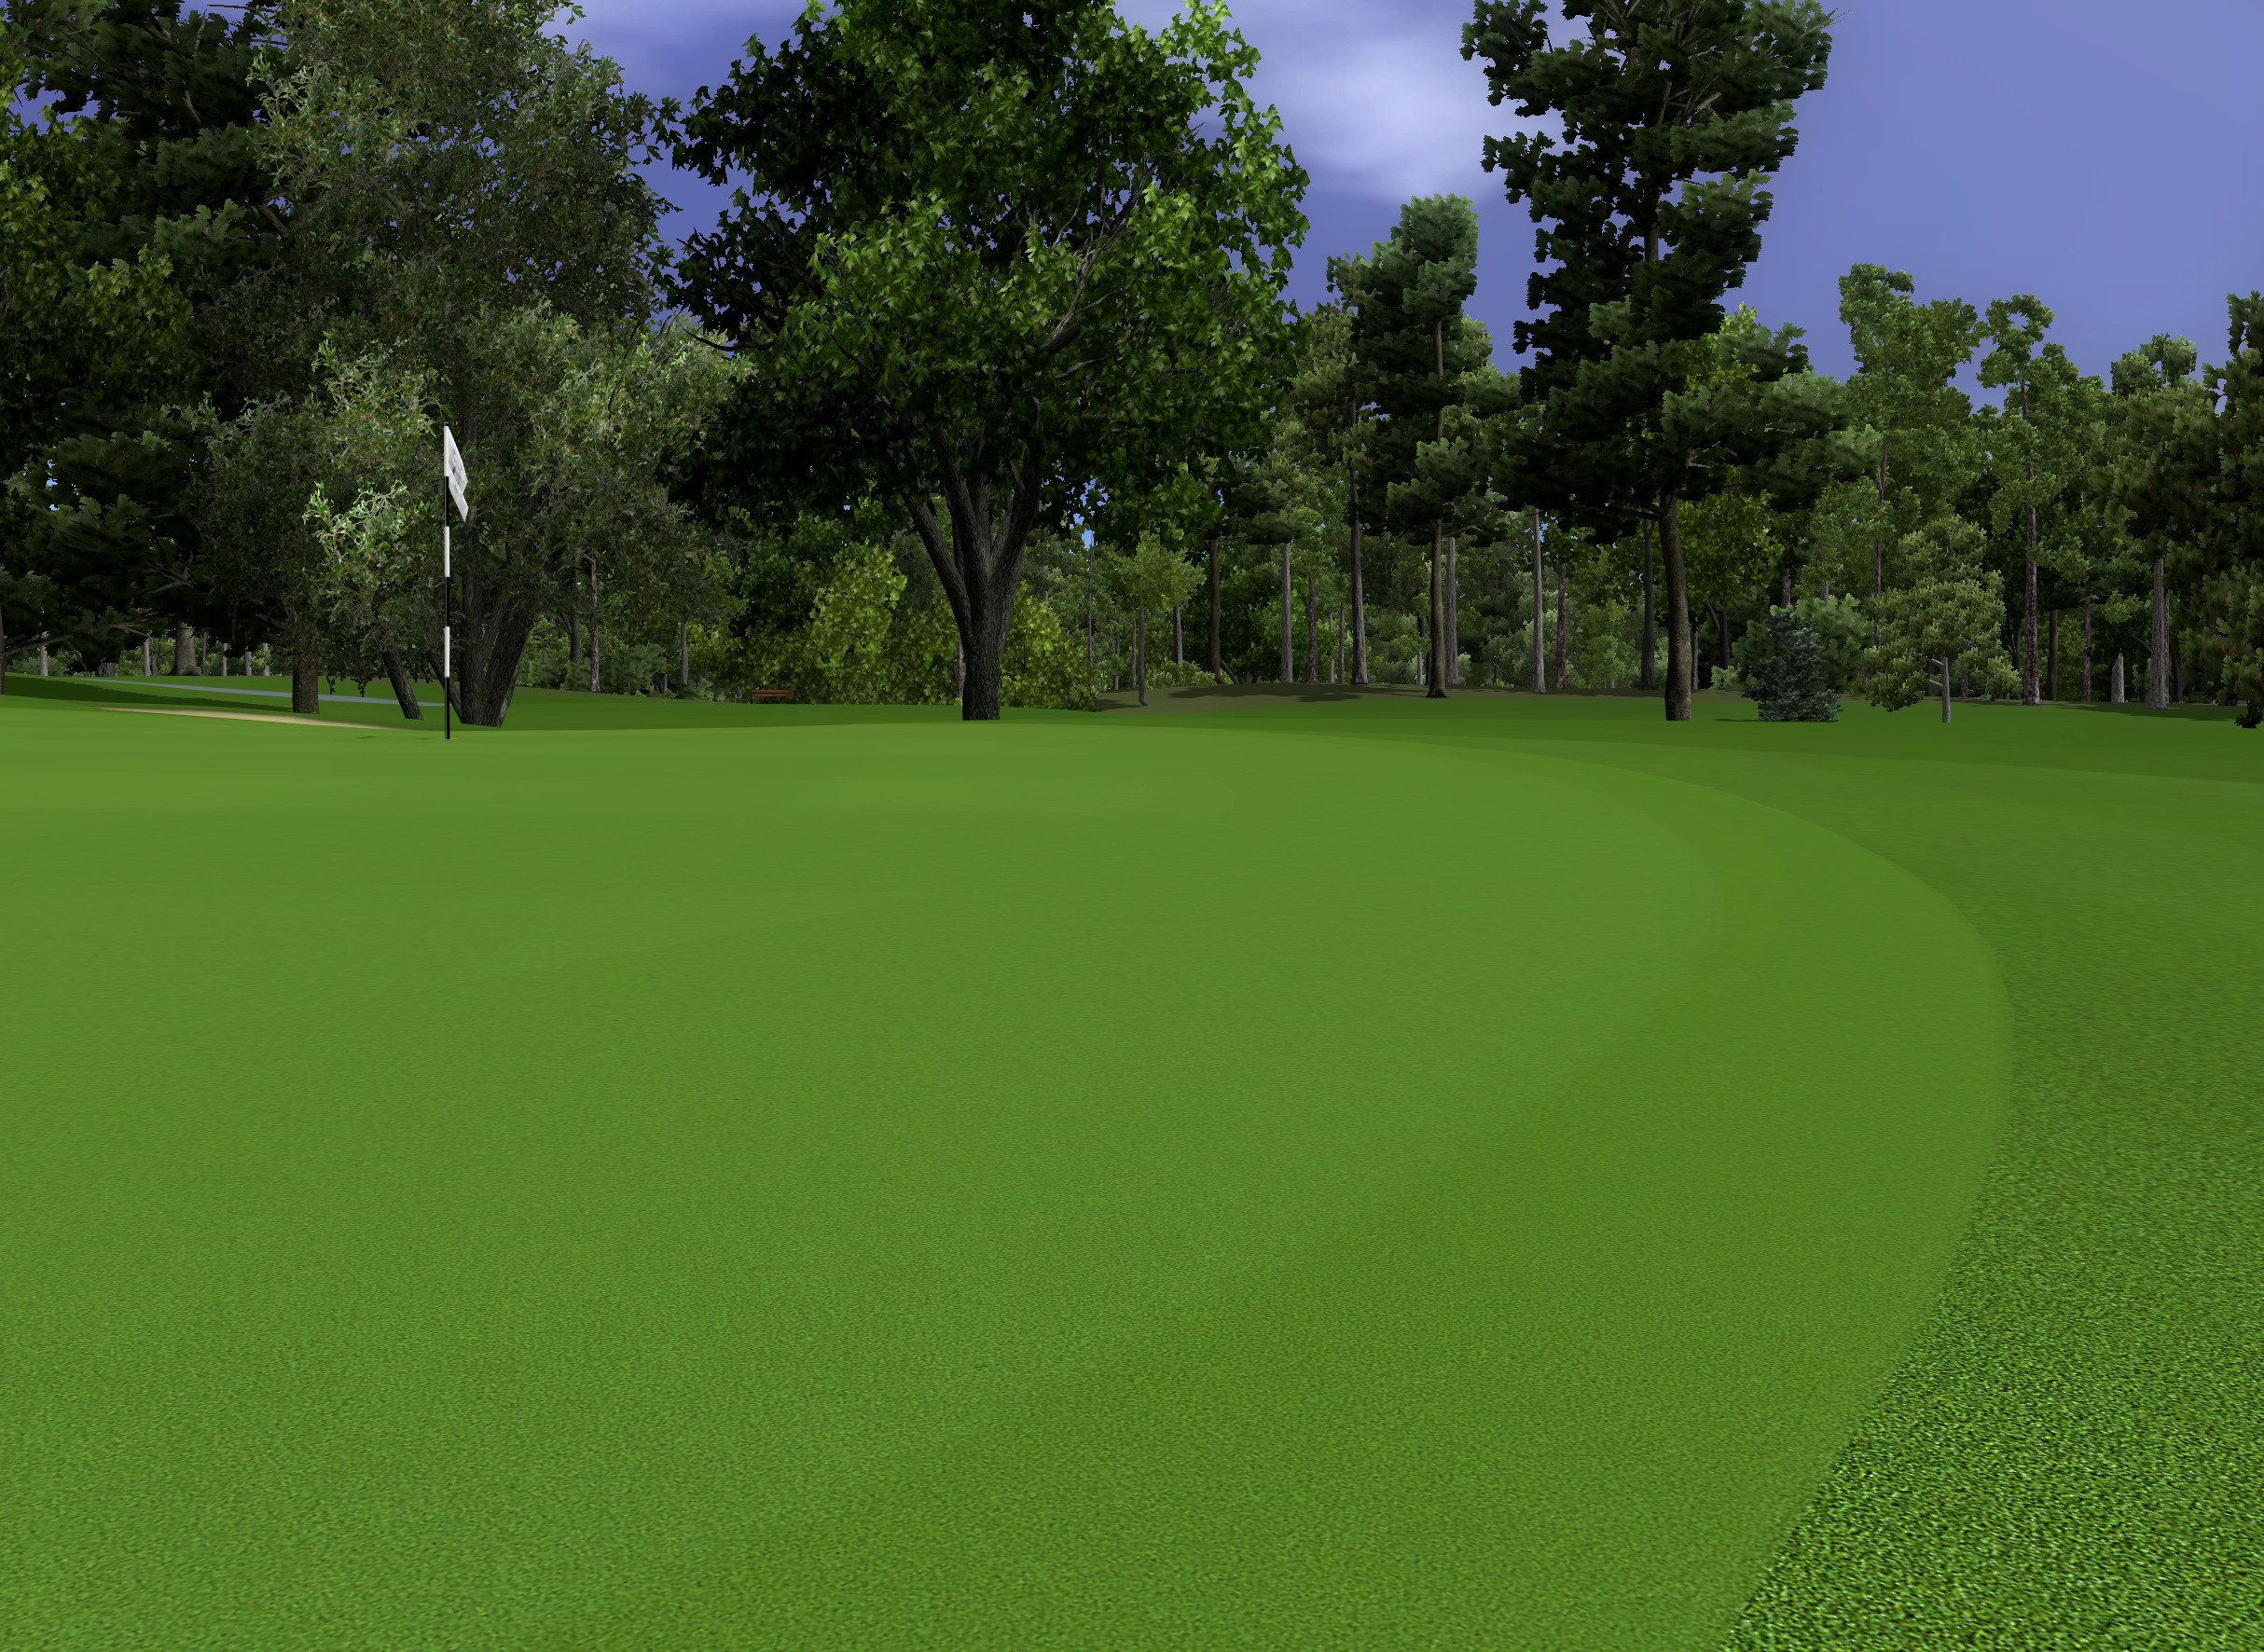
The shadow provides a sense of depth without losing a cut defining edge.
For comparison, a hard edge with no blend.
| Border Width: | 0.46 |
|---|---|
| Blend Widths: | 0.05 |
When creating greens I add a border to the green shape for the fringe and set the border width to 0.46 (~ 1.5 feet).
For blends I use MASK 52.tga on the main green shape and on the fringe border. As with fairways and first cuts, you can use MASK 79.tga (discussed in detail in the bunker lip section) here if you prefer to simplify things and use the same mask for all grass cuts.
I set the blend width for both to the minimum of 0.05 (~ 2 inches), again to achieve a subtle but effective look.
| Blend Width: | 0.05 |
|---|
I use MASK 52.tga for blends on cart paths, roads or other paved areas in the rough. If the path crosses the fairway or first cut I suggest trying MASK 51.tga in those areas for a sharper edge. I do not know what looks best in this case though as this situation has not come up for me in a course design yet. You can again use MASK 79.tga in place of either if you prefer to simplify things and use just one blend for all grass cuts.
I set the blend width to the minimum of 0.05 (~ 2 inches).
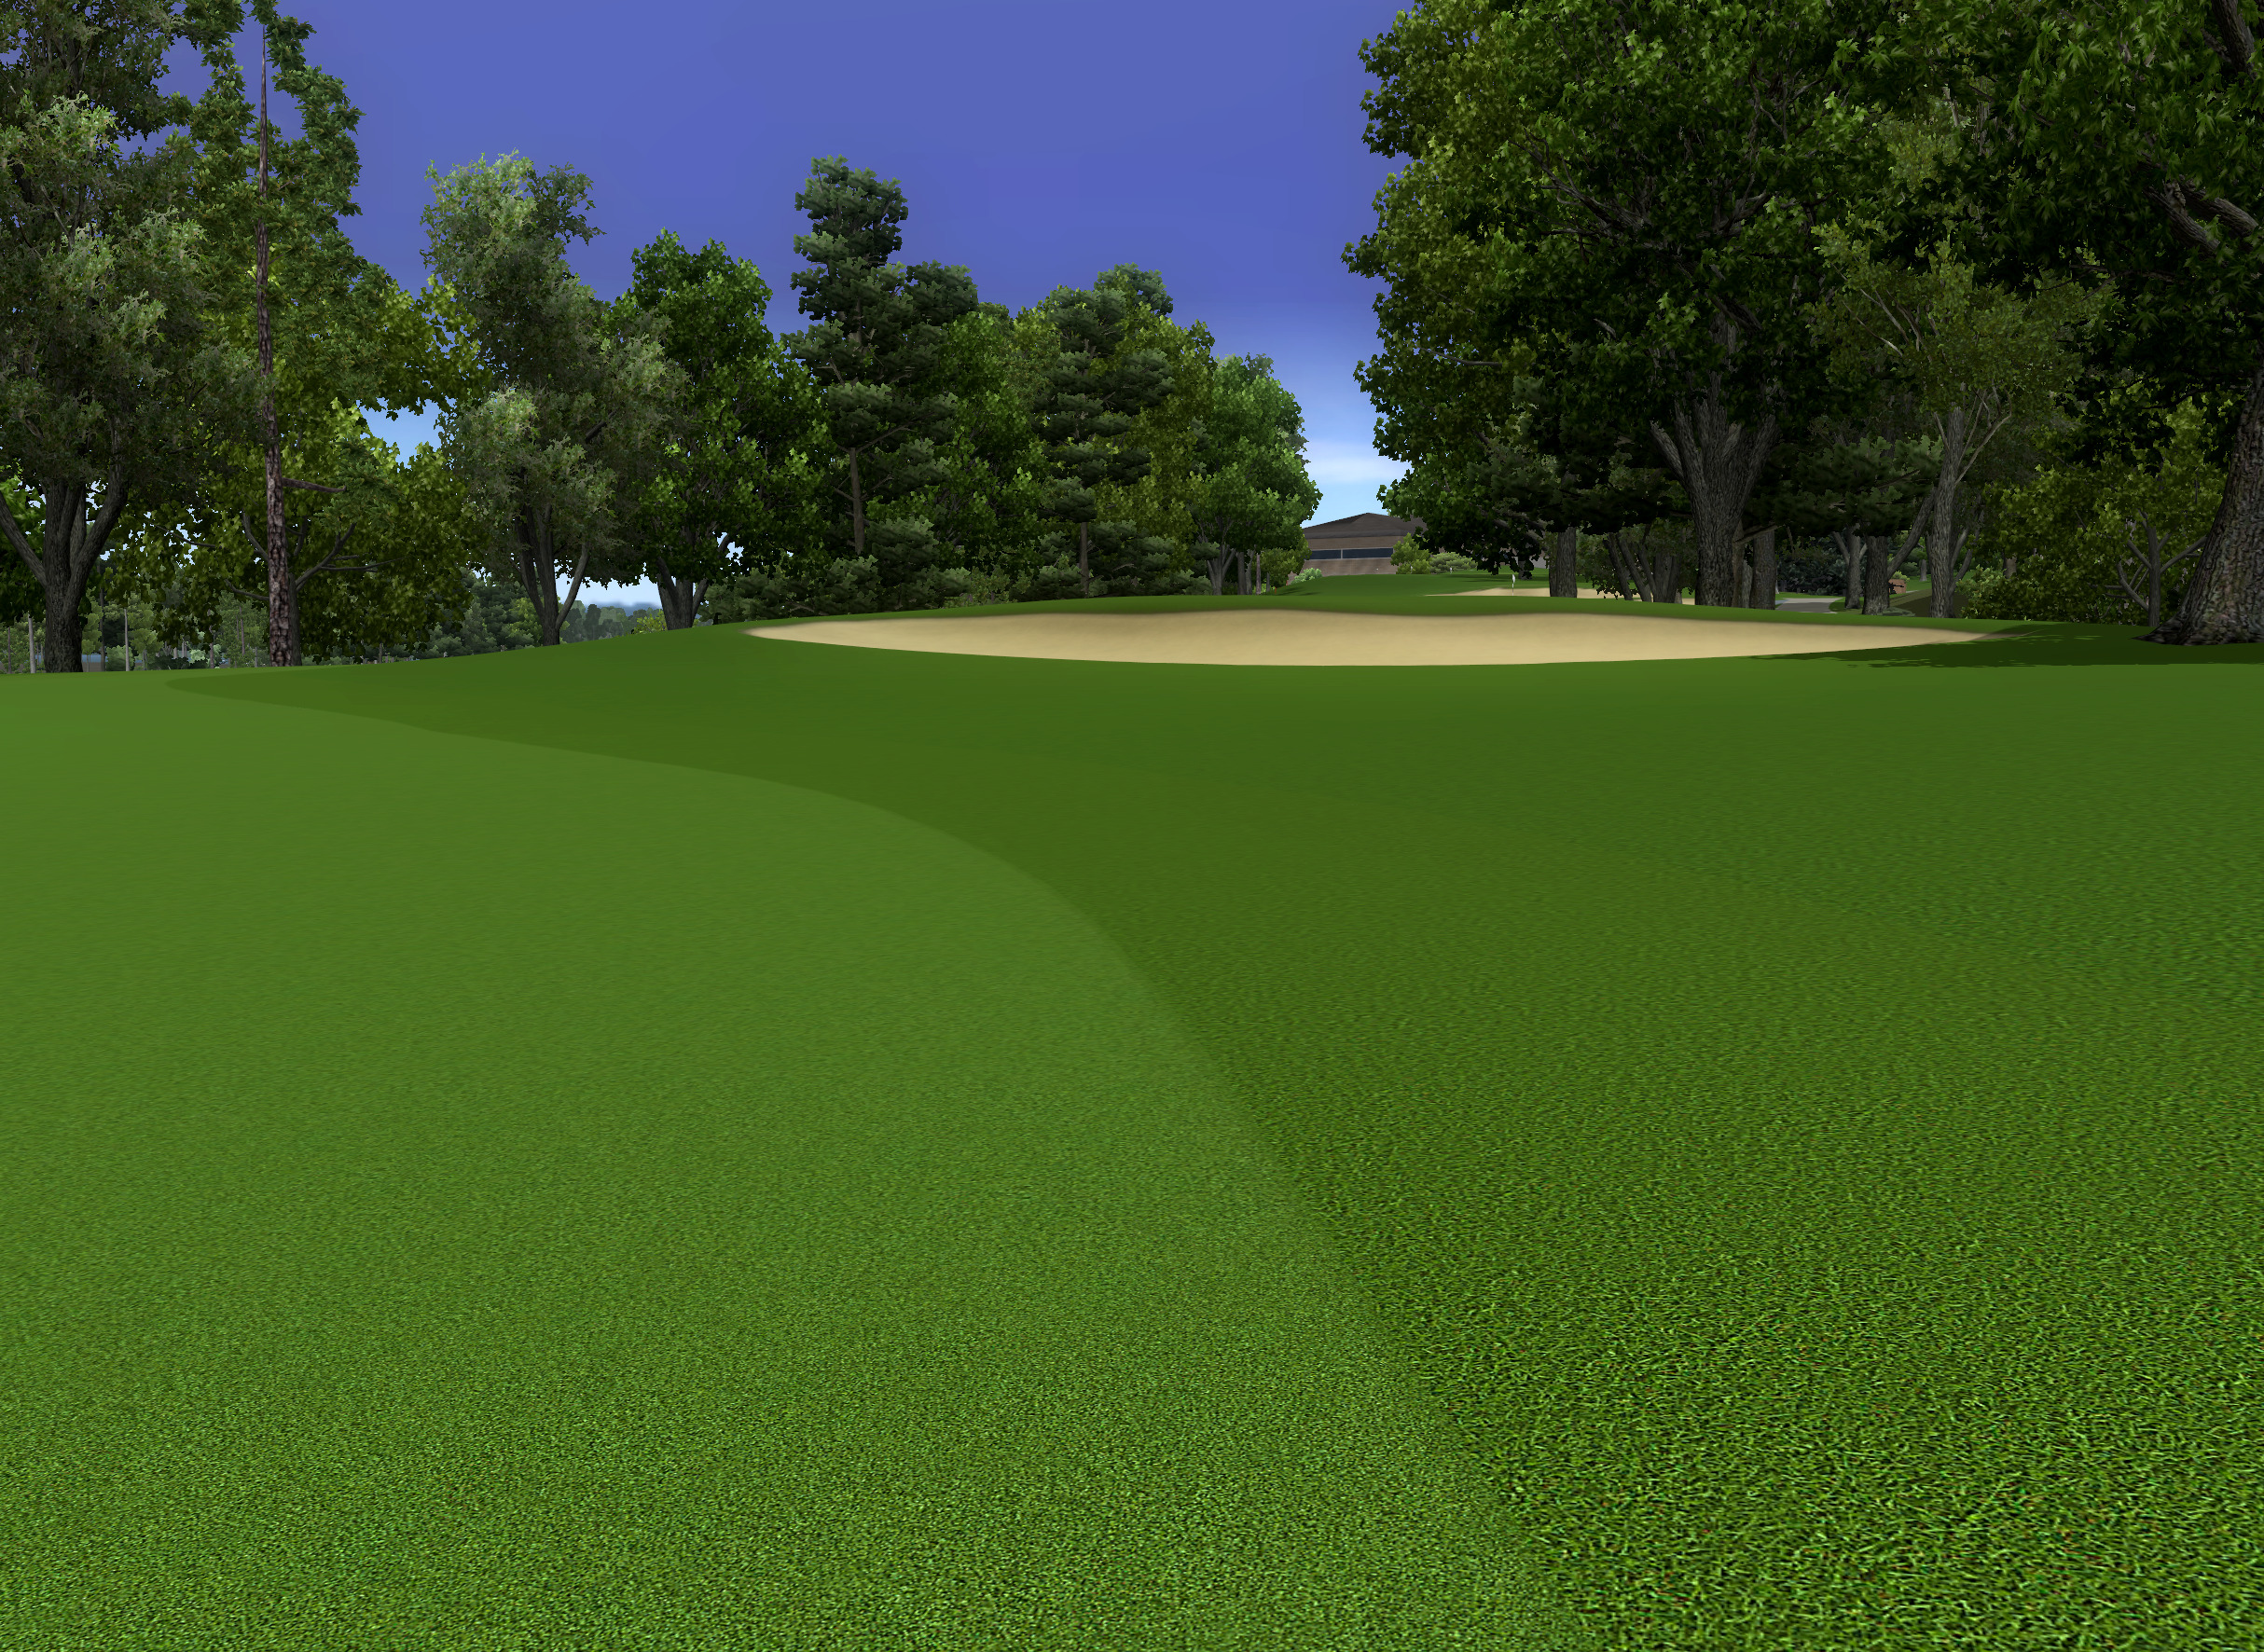
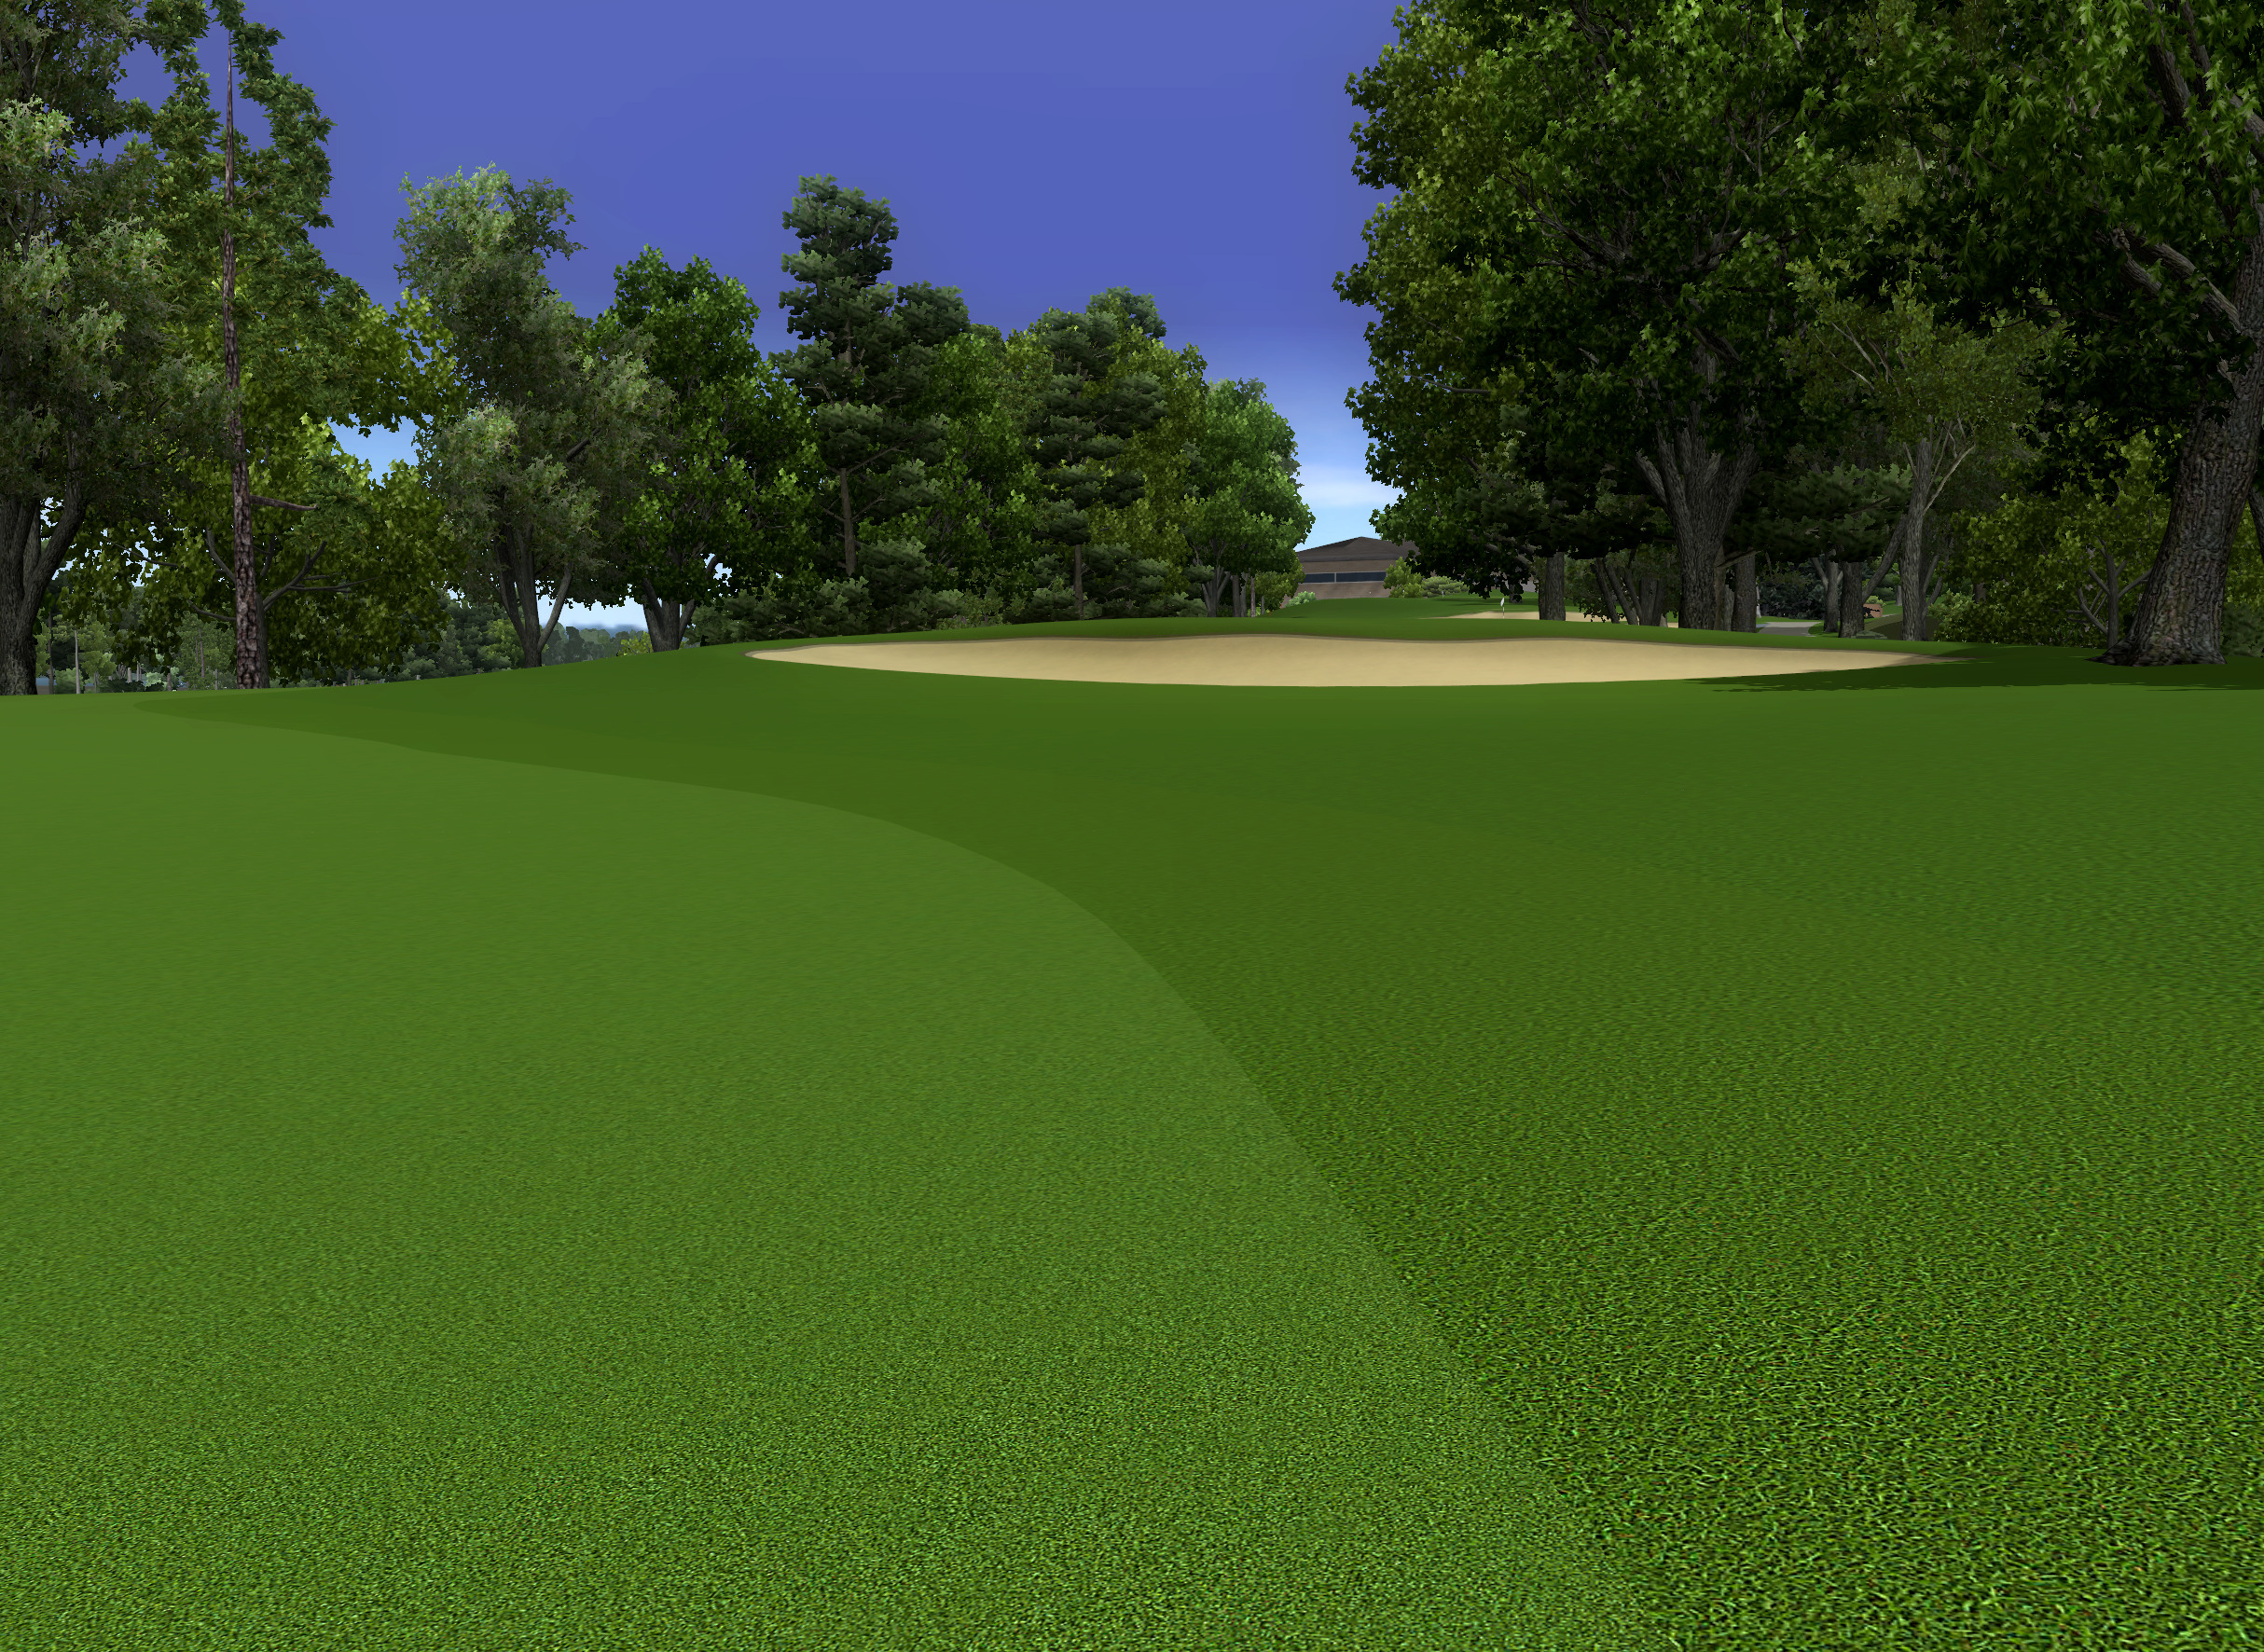
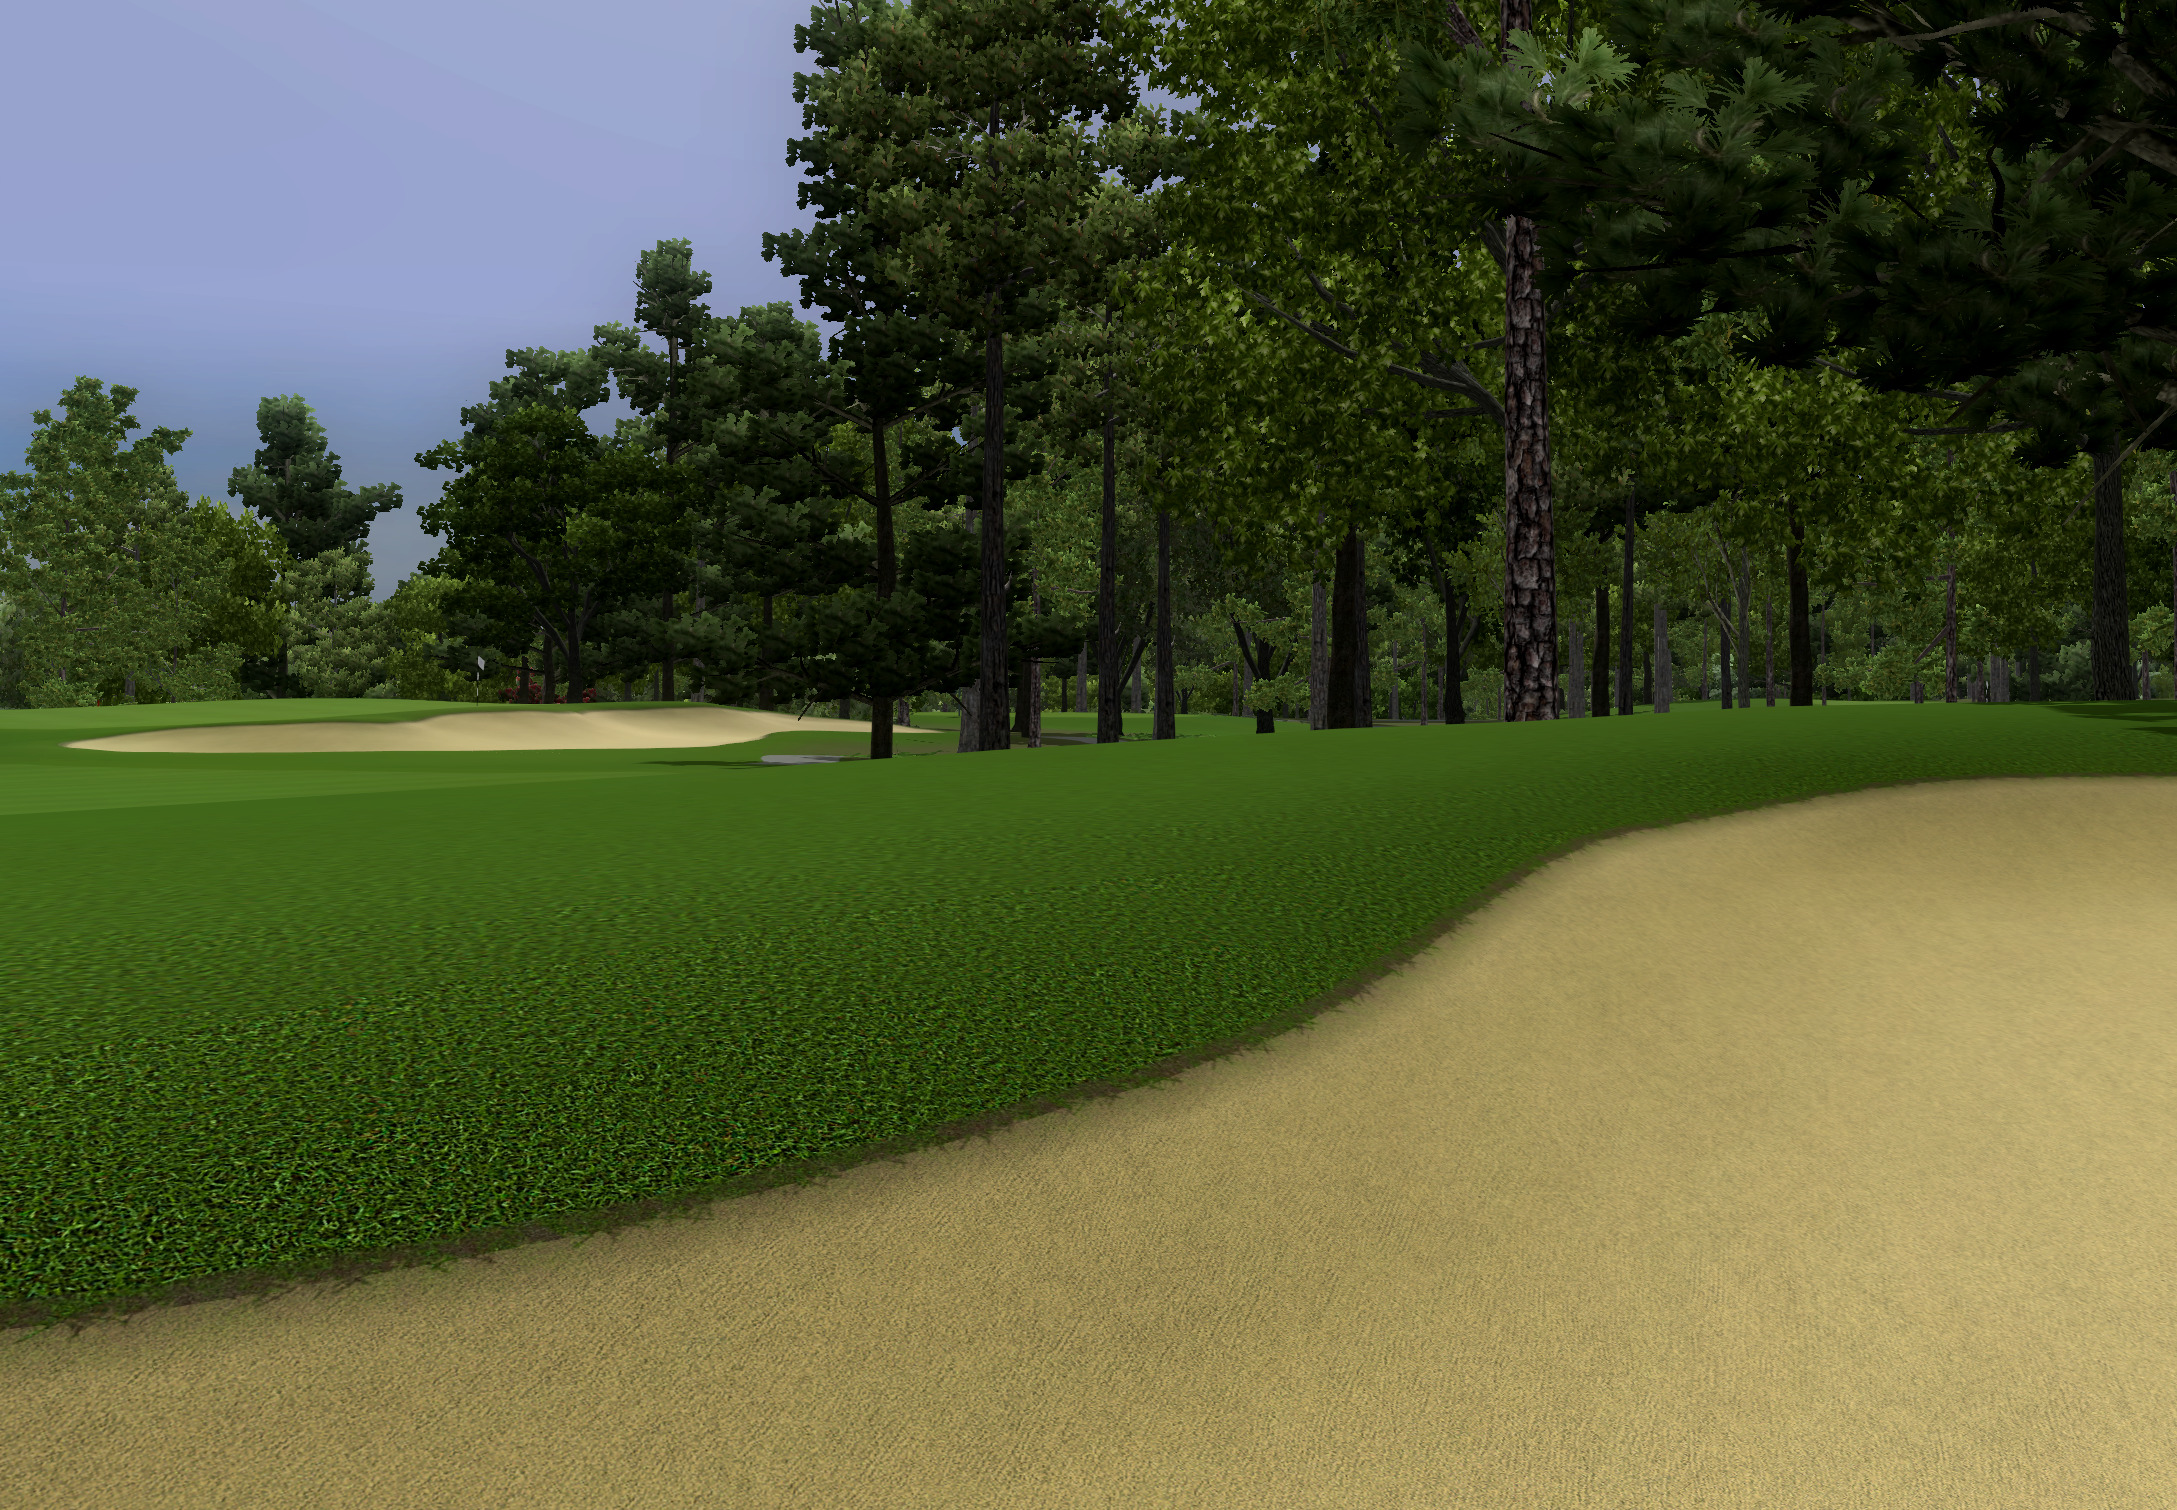
For bunkers I am again using blends to create an illusion of depth. This time an additional border is used for the lip to enhance the look.
| File: | MASK 79.tga |
|---|---|
| Width: | 0.17 |
| Example Use: | Bunker to Bunker Lip, Bunker Lip to Rough |
| Description: | I made this mask specifically for bunker lips. It is a modified version of MASK 51.tga with grass blades crossing the edge of the mid-point cut. It keeps the hard edge shadow of MASK 51.tga that is needed to create the illusion of depth on the bunker lip while also giving the rough around the bunker a shaggier look more similar to what MASK 52.tga provides. |
| Border Width: | 0.10 |
|---|---|
| Bunker Blend Width: | 0.17 |
| Lip Blend Width: | 0.05 |
The minimum border width is 0.10 (~ 4 inches). This still looks too wide for a bunker lip. Fortunately it's possible to make less of the lip visible using blends. I use MASK 79.tga set to a width of 0.17 (~ 6.75 inches) on the main bunker shape. This narrows the visible bunker lip because some of the mask is opaque and covers the lip with the main bunker texture. With a lip border width of 0.10 and a lip blend width of 0.05 the total width of the lip and its blend is 0.15. This means that setting the main bunker shape blend to 0.17 completely covers the lip border and its blend. Some of the lip is still visible however because this mask is not all opaque.
This presents a problem for editing the lip and its blend because you can't click on them with another blend covering them. If you need to edit the lip or its blend you need to temporarily either shrink or delete the main bunker shape blend. You usually don't need to edit it after first creating it but there is a specific order that works best when creating it that I outlined below. It isn't necessary to do everything in exactly this order but the primary thing is you must either reduce the width of the border last or create the main bunker shape blend last. Otherwise you end up needing to resize or delete the main bunker shape blend to work with the bunker lip and its blend.
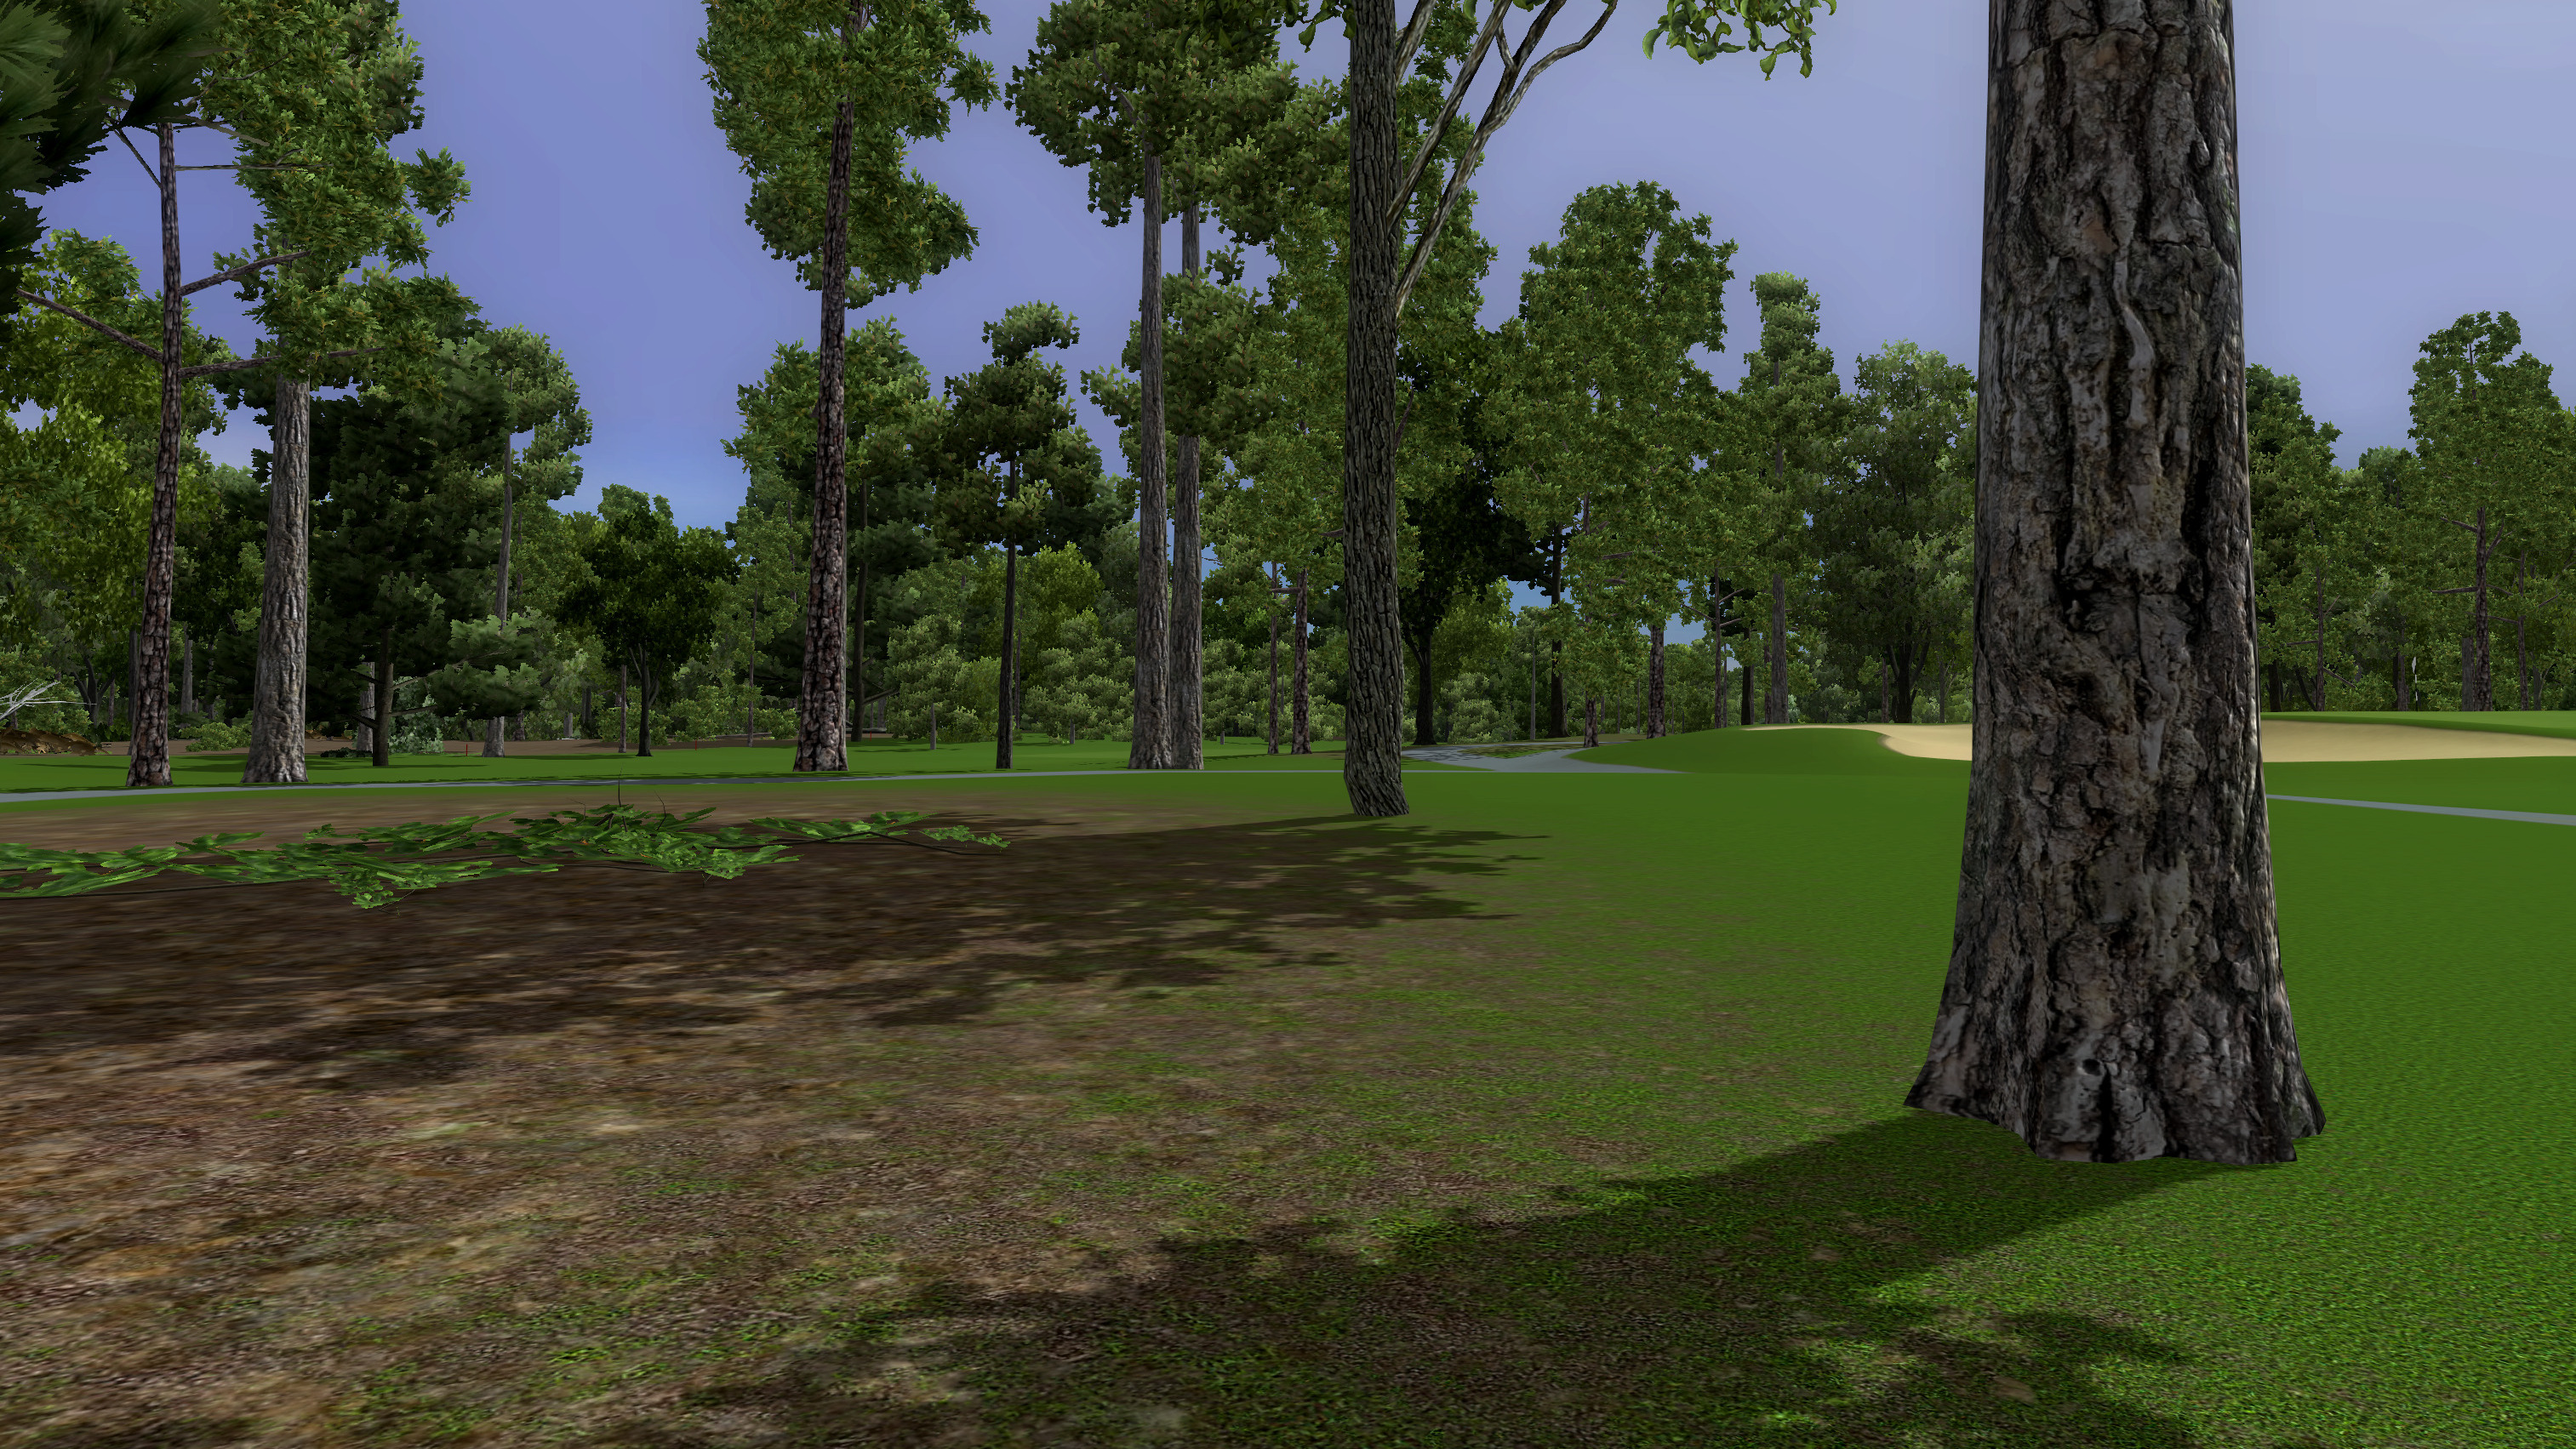
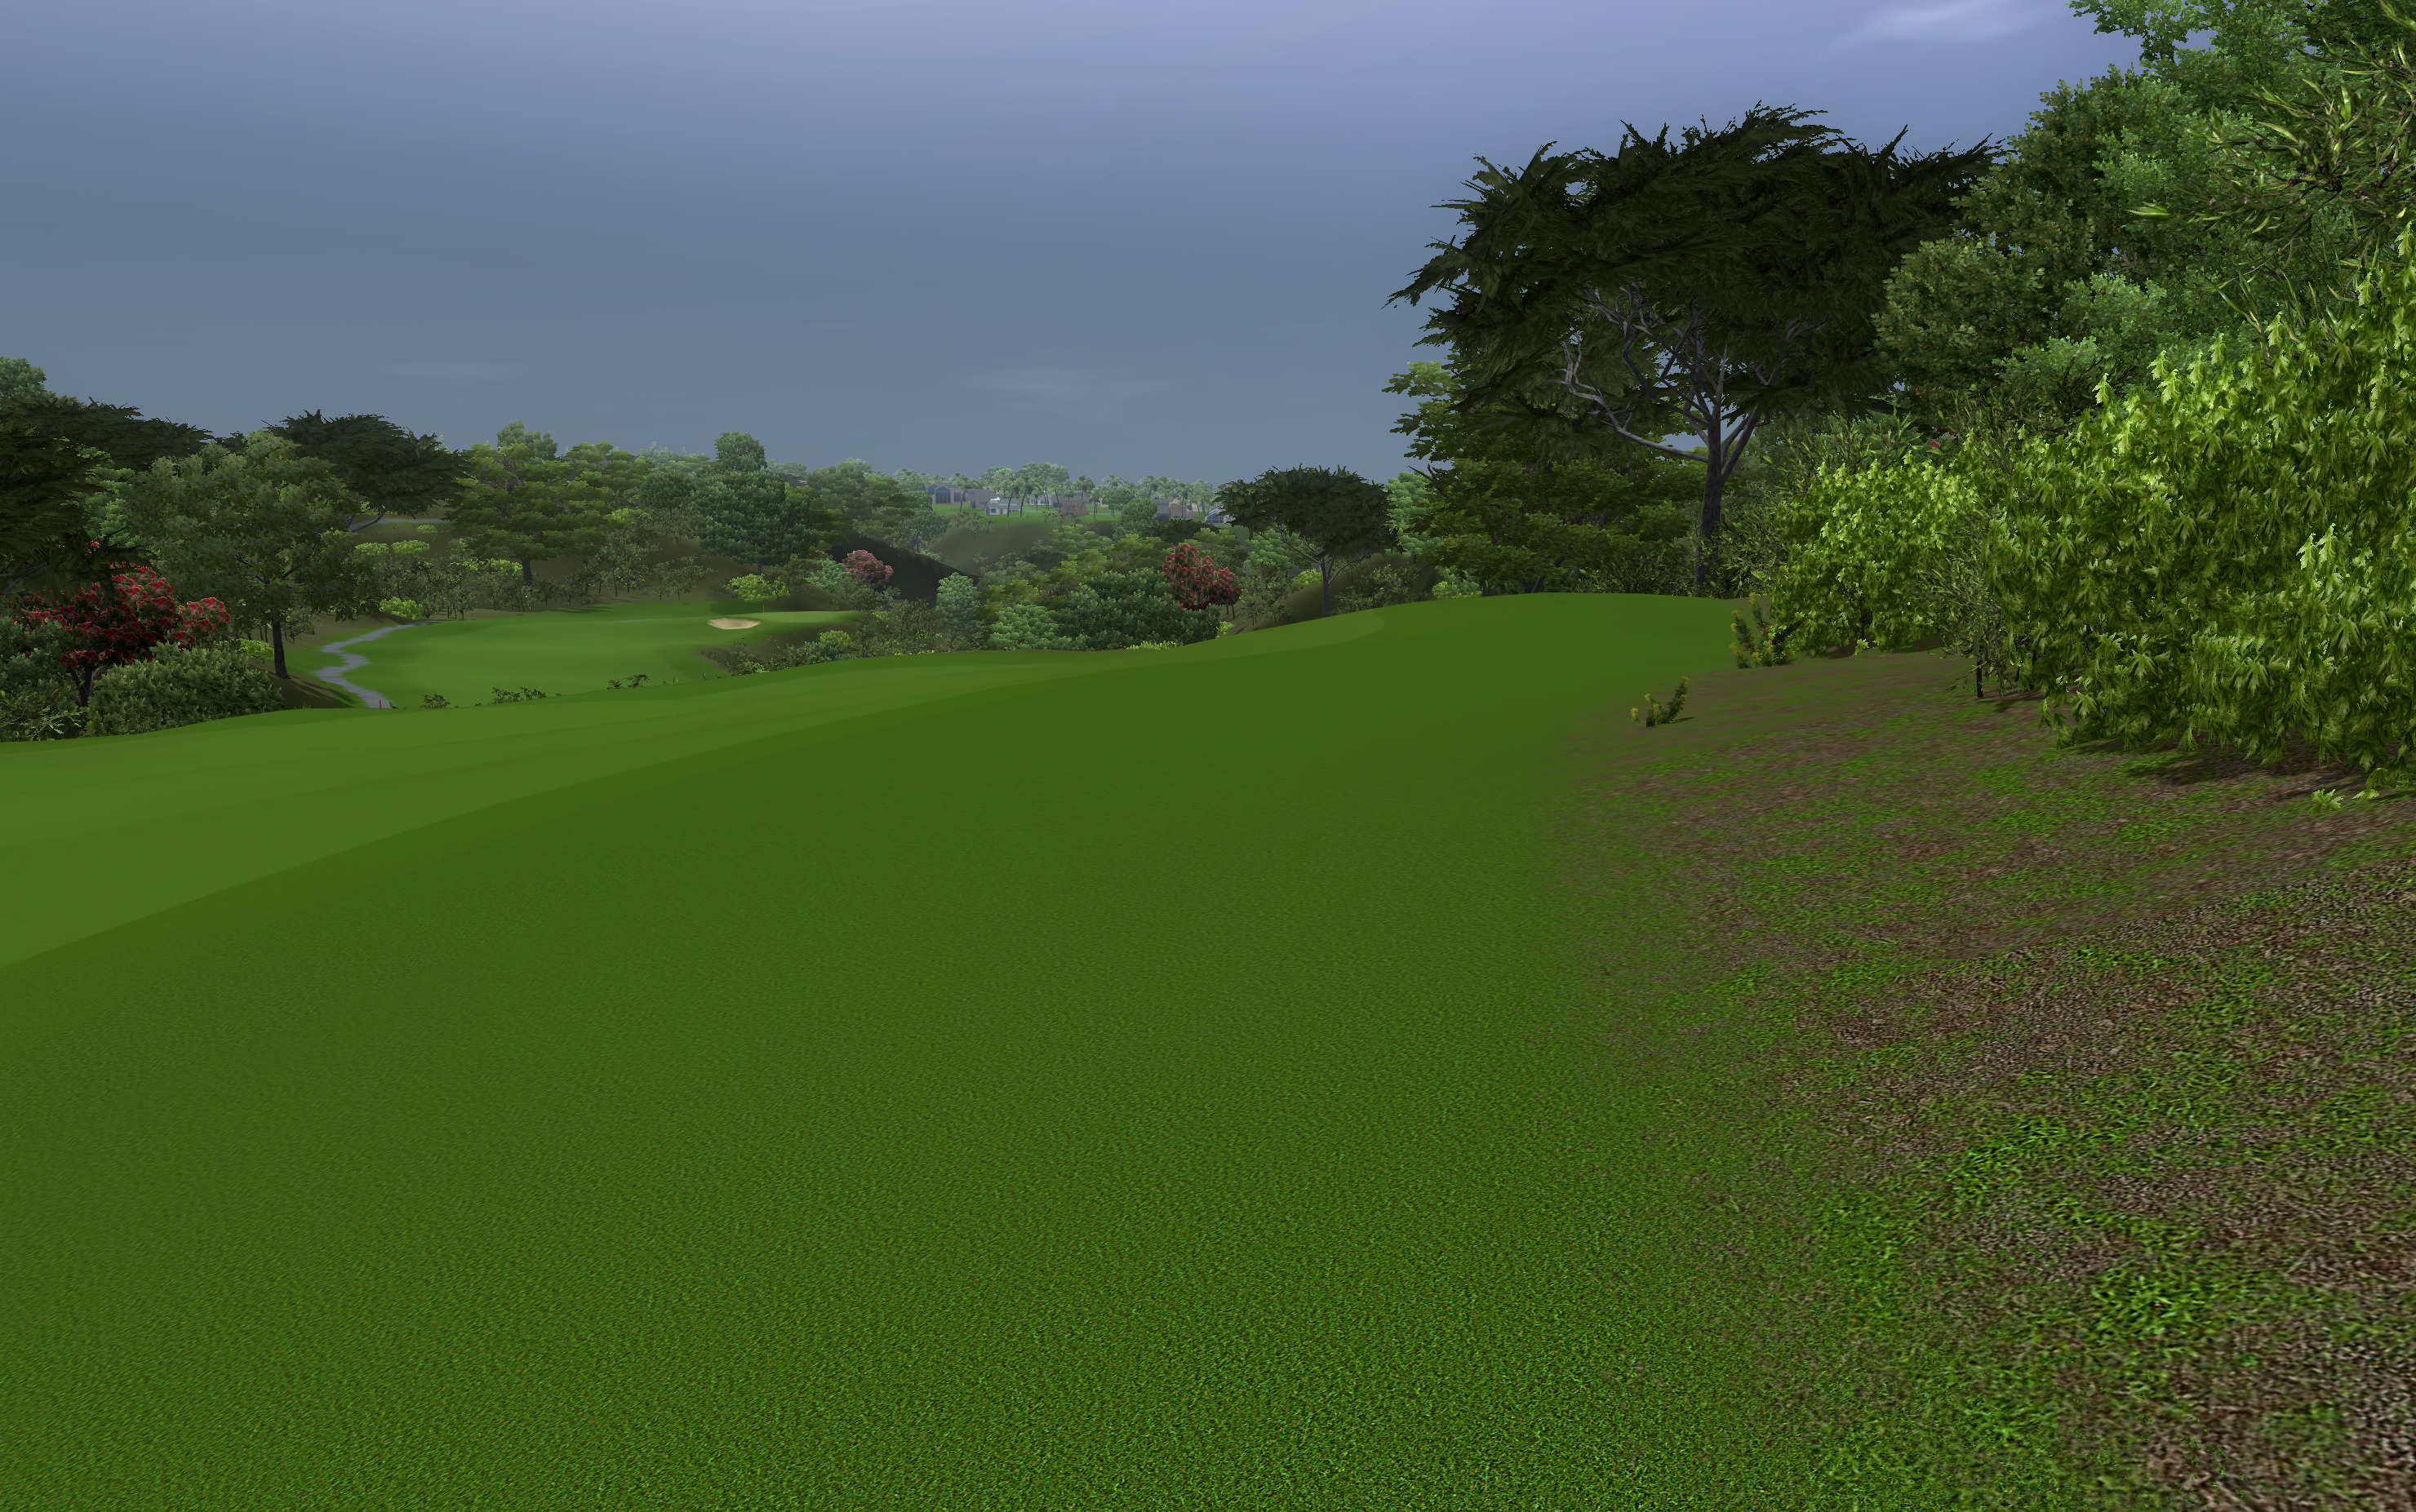
Another objective of blends is to achieve a natural transition. Typically this is used between maintained areas of turf and "native" or "waste" areas of ground that are not maintained. This transition also sometimes occurs between two different areas of unmaintained ground.
| File: | MASK 31.tga |
|---|---|
| Width: | 1.0 - 3.0 |
| Example Use: | Dirt to Fairway/Rough, Pine Needles to Rough/Fairway/Dirt, Leaves to Rough/Fairway/Dirt, Sand Dunes to Rough/Fairway/Dirt |
| Description: | I made this custom blend with patchy areas that fade from one texture to another. This works well as a transition for native areas and waste areas. |
In addition to the mask, I made available some different types of native area textures I created. Below is a brief description of each.
| File | Description |
|---|---|
| Dirt-Wood.png | A combination of dirt with sporadic wood chips on top. |
| Dirt-Wood-Dry.png | Dirt-Wood.png but with a more sandy dry look. |
| Leaves-Dirt-Wood.png | Dirt-Wood.png with sporadic leaves added on top. |
| PineNeedles-Dirt-Wood.png | Dirt-Wood.png with sporadic pine needles added on top. |
| Rough-Dirt-Wood.png | Dirt-Wood.png with sporadic rough grass added on top. |
| Rough-Dirt-Wood-Dry.png | Dirt-Wood.png but with a more sandy dry look and sporadic rough grass added on top. |
Detailed below are the two methods I use to do native area and waste area transitions.
| Texture Scale: | 3.0 |
|---|---|
| Blend Width: | 1.0 |
The simple way is to just draw the shape and add a blend. On the Princeville Resort (Prince Course) I used this method.
| Shape Texture Scale: | 3.0 |
|---|---|
| Shape Blend Width: | 3.0 |
| Border Texture Scale: | 2.0 |
| Border Width: | 2.0 |
| Border Blend Width: | 2.0 |
The more complex way is to add a border around the shape and use a transition template or the same template in the border and scale it lower. Then put overlapping blends on both the shape and the border. The advantage to this is an even more randomized and natural looking transition between the textures. I did this in most situations for the textures under the trees on Bull's Eye Country Club.
A fairly easy way to remember the scales and widths is that everything to do with the main shape is 3.0 and everything to do with the border is 2.0. Note that the blend from the main shape completely covers the border as it did in the bunker lips. As a result you again need to create things in a certain order as outlined below, doing the border work before the main shape work. If you need to edit the border later you need to temporarily delete or reduce the size of the blend on the main shape.