![]()
There are two kinds of overlays: Spline Overlays and Course Overlays. Without context it is sometimes confusing which type someone is referring to. This brief tutorial clears up the difference and details when and how to use each.
Spline overlays are like regular shapes except they typically use textures with transparency. They do not change the physics of the underlying regular shape. Some uses for spline overlays include creating mow patterns and adding details such as divots or cracks in roads.
To add a spline overlay all you need to do is draw a spline and choose the overlay spline type.
Spline overlay textures are contained in templates just like regular textures. PNG and TGA are the file formats supported by the game that also support transparency. You can use a template containing a regular texture without transparency as a spline overlay, however if you try to use a texture with transparency as a regular shape spline, a black color shows everywhere there is transparency in the image. For organizational reason I use "Overlay" as the starting word when naming all of my templates that contain textures with transparency. This way I know which templates to use only as overlays and they are easy to find. When a template is used as a spline overlay there are fewer option to edit. If it is a regular texture without transparency, the full range of options are still available to edit when it is used as a regular shape spline.
While repetition is appropriate in some cases such as mow patterns, most of the time this is something to avoid. This is hard to do in textures with transparency but I developed a trick to get around this problem. See Angled Overlay Interaction for more information.
A course overlay is an image with transparency spread over the entire plot of the course. Typically this is a satellite image of your course but it is also possible to use an image of generic ground. Course overlays are used to vary the color of the textures for a more natural look.
If you are using a satellite image, aligning a course overlay image is tricky. Probably the easiest way is to create a base texture. To do this go to Tools > Course Overlay and click Create Base Texture. This option saves out an image file with all of your drawn shapes on it. Using this, bring your satellite image in on another layer and align, rotate and resize it to match the drawn shapes in the image. Once it is aligned, delete the base map layer. If the image is larger than your satellite image you cannot crop it without throwing it out of alignment. You either need to get a new satellite image that covers a larger area, fill the remaining area with generic ground, leave it transparent, or shrink the size of the plot in the game and recreate the base map.
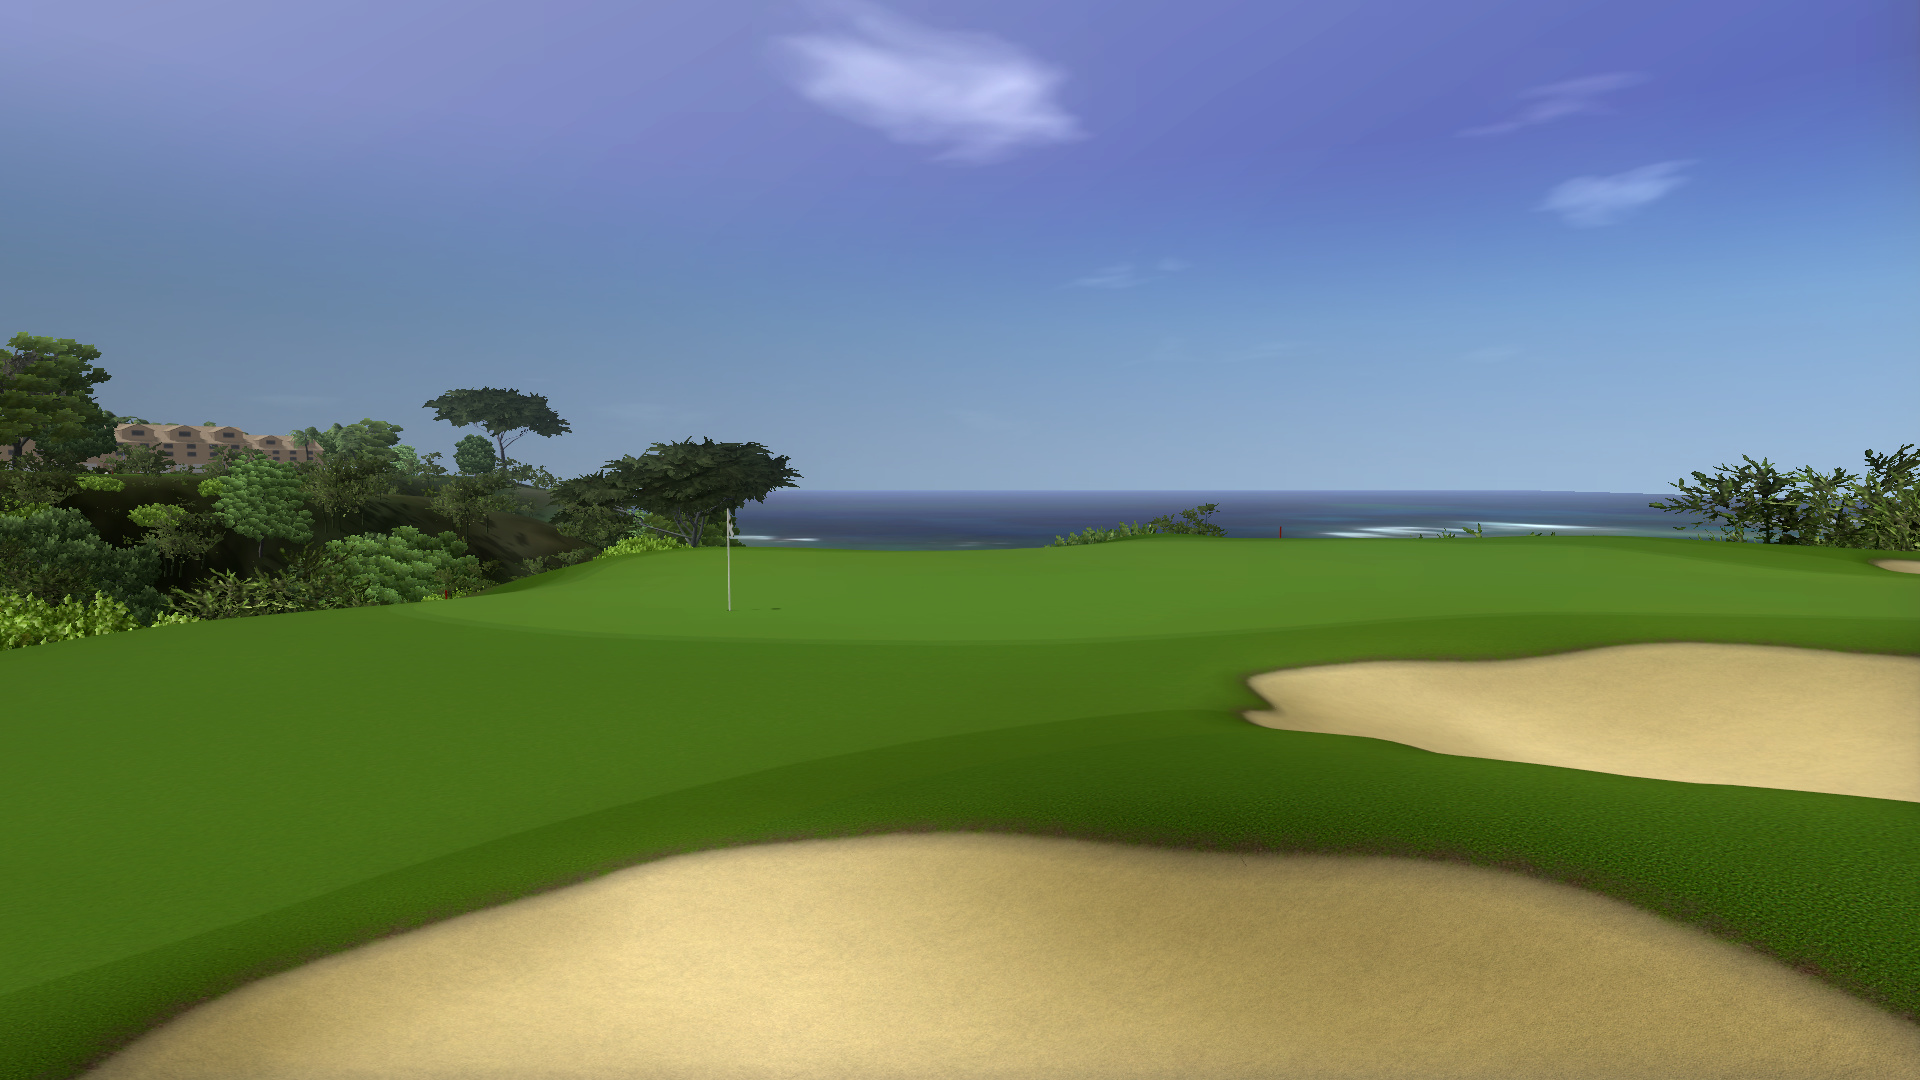
Course overlays look washed out close up. This is due to the fact that the image is stretched over a large area. The transparency used in the game is a simple lowering of the opacity of the pixels. More advanced blend modes, like color blending it with the shape textures (similar to setting the blend mode on a layer in image editing software), are not available in this game engine. As a result course overlays are of limited use to close up, in play areas on the course. However they are still useful for areas of terrain in the distance. This is, for example, how I achieved the look of the ocean on the Princeville Resort (Prince Course).
The blend slider in the Course Overlay dialog box affects the entire image. If you aren't customizing specific areas of your image, set this to around 8-12% to get a light effect throughout the whole plot. I typically set the blend slider to 100% though and localize the transparency in the image by painting transparency in an image editing program such as Photoshop, Paint Shop Pro, or GIMP. I reduce the areas where there are holes to around 8-12%, areas not too far off the course to 25-35% and parts well off the course to 80-100%. Most of the time parts far away from the course look fine fully opaque. I use a large amount of feathering (for selections) or low hardness (for brushes) so that there is a natural transition between areas of transparency. When finished, I save the image out as a PNG file.
To add a course overlay to your course go to Tools > Course Overlay, click on Change Texture, and select an image to use as your course overlay.