![]()
The method I recommend for downhill flowing water, where using the game's rendered water is impractical, is to create the illusion of water using textures with regular surface shapes. This solution is not without issues. The illusion is partially ruined if your ball goes into the water because the ball doesn’t disappear. It does however play correctly, giving you a penalty and requiring a drop, as long as you set the templates used by these textures as hazard.
When drawing splines on the surface layer there is the option to select "water" as a spline type but I recommend against using it. The main advantage of it is that the ball disappears when it goes into an area with this spline but there are two problems with it. First, the water is not reflective like the rendered water. It shows some movement like the rendered water but the texture does not look very good without reflections. The only option available to change the appearance is color. While it's true that using regular textures is also non-reflective, you can at least create a more visually appealing look for non-reflective water with your own textures and blends. The biggest problem though is the course does not even load in some simulator versions of the software when there is a water spline on it. Fitness Golf and P3ProSwing are verified not to work with water splines.
With the right textures and blending, using regular shapes and blends looks pretty good and is the best compromise for this type of water body given the limitations of this game engine. Below are the textures and masks I used to create this effect on the Princeville Resort (Prince Course) and instructions for how to use them.
| Download: |
|---|
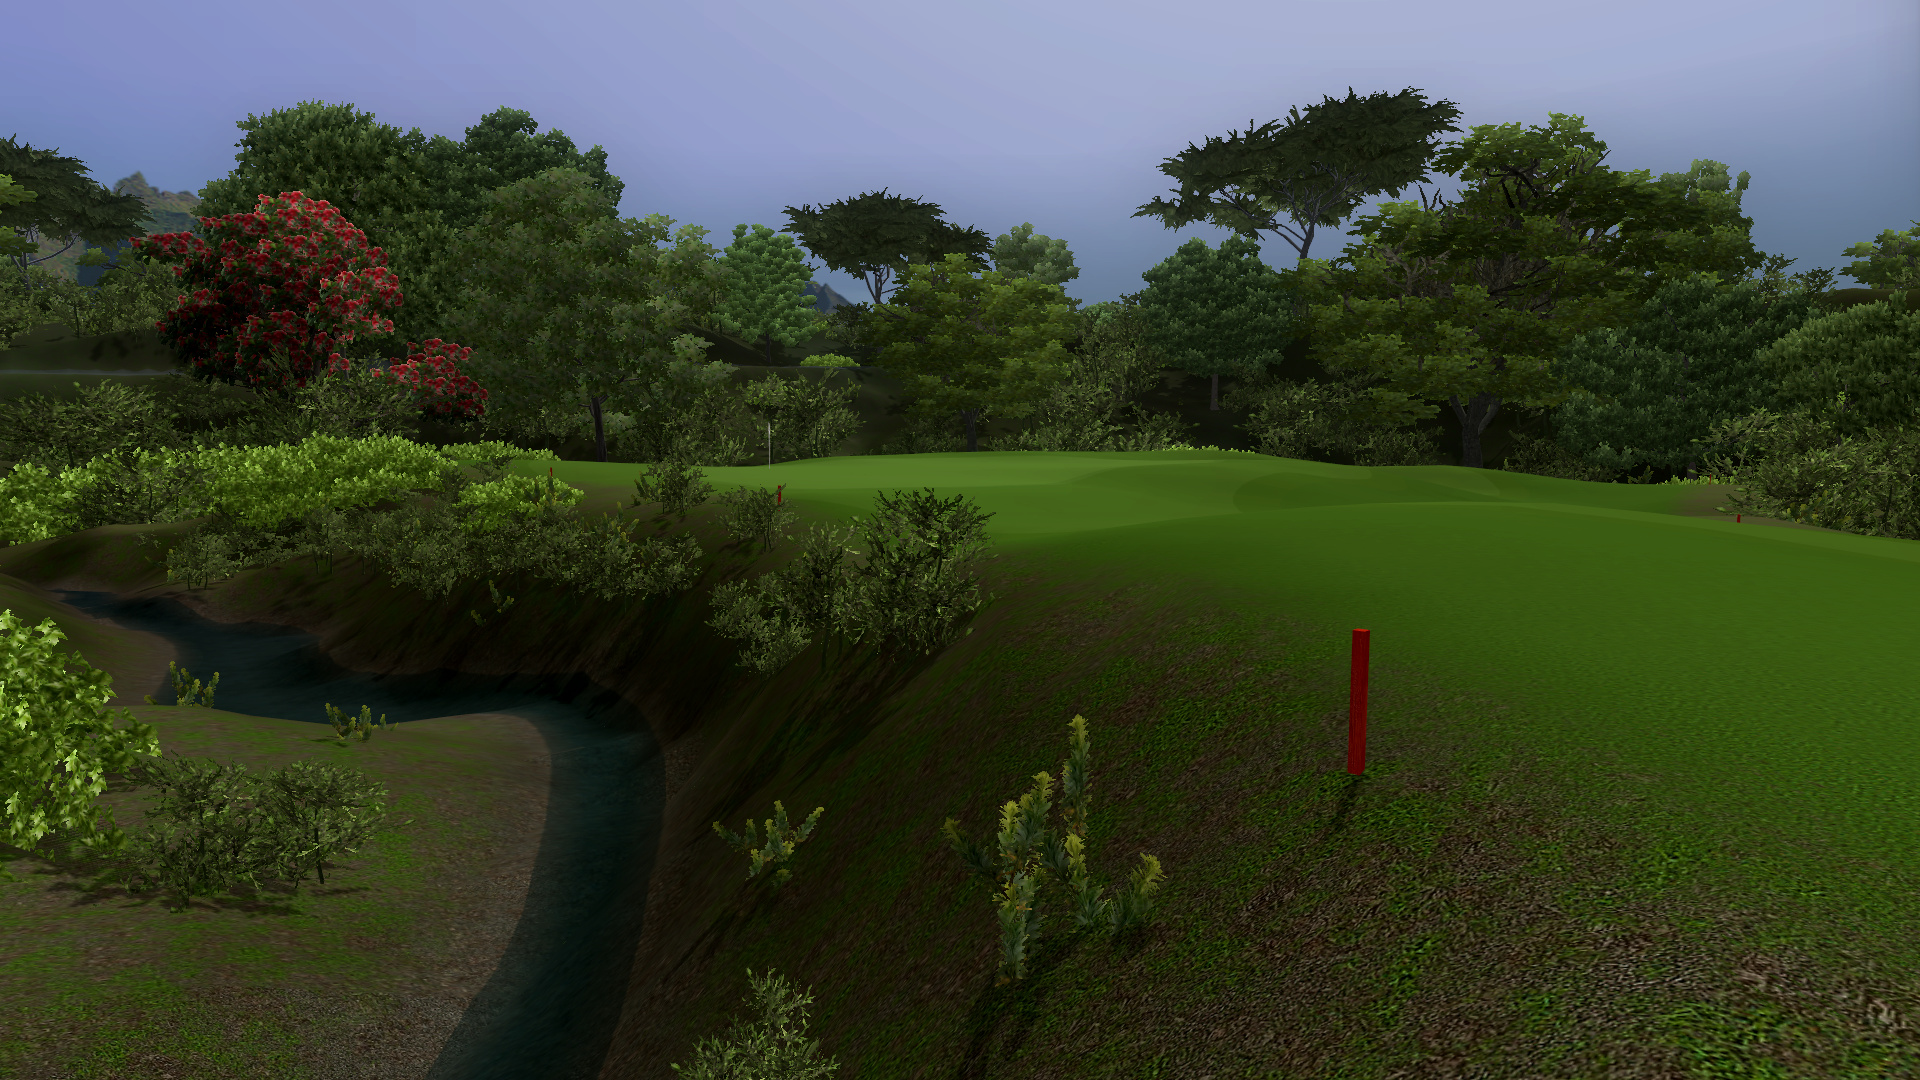
The widths for blends and borders are the widths I used in the image below but you may need to experiment with width depending on the size of your creek or stream. For more information on working with borders and blends see Border and Blend Basics and Grass Cuts and Natural Transitions.
| File: | Rough-Dirt-Wood-Blue.png |
|---|---|
| Width: | Slightly smaller than the actual size of the river/stream/creek. |
| Description: | This is the main water texture. Due to the width of an added blend, draw this in and adjust it as needed after adding the blend. |
| File: | MASK 51.tga |
|---|---|
| Width: | 1.0 |
| Description: | Add this blend to the water texture. This is a custom blend I made to create the illusion of grass cuts but it also works well here. It causes the water to start to fade making it look like the water is shallower near the edges but then cuts off to a hard edge rather than fully fade to give the water line a hard edge. |
| File: | Rough-Dirt-Wood-Wet.png |
|---|---|
| Width: | 0.75 |
| Description: | This is the water bank texture. Add it as a border to the main water texture. |
| File: | MASK 31.tga |
|---|---|
| Width: | 1.0 |
| Description: | Add this blend to the bank texture. It is a mask I created for transitions involving native areas or waste areas. |
| File: | Rough-Dirt-Wood-Water.pspimage Rough-Dirt-Wood-Water.psd |
|---|---|
| Description: | The main water texture is a modified version of the bank texture where I blended and blurred some things together. For a starting point for those who wish to create their own texture, I included my original Paint Shop Pro file and a version saved out of PSP as a PSD for those who use Photoshop or GIMP. |