![]()
This page includes templates for the track .stp files. They are designed to help you make your .stp files look as close to the style of the original N2003 images as possible. All templates are in layered .psd format and open in both Photoshop and Paint Shop Pro. The images below are examples and are not included in the templates. I recommend using WinMip to convert them back to .stp files. Please do not make a direct link to any of these files but instead link to this page. If you want to host any of these files please contact me first.
trkinfo.stp (7.44 KB)
Use this template to get the same border area and size all other tracks in N2003 have. It includes the north arrow as a separate layer that is easily rotated in the direction north is. Drop your overhead picture in as the back layer and save it as a bmp file. The trkinfo_ti file included is the same for all tracks in N2003. Put this file in the folder with the trkinfo.bmp you saved and convert it to the .stp file format.
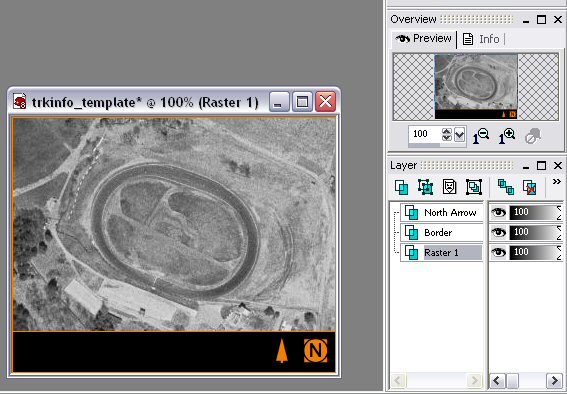
(Example: TerraServer image of Thunder Road)
trkshot.stp (6.17 KB)
Use this template to get the correct size and the same border that all of the N2003 tracks have. Drop the image you want to use in as the back layer of this template. Save it as a bmp file and convert it to the .stp file format.
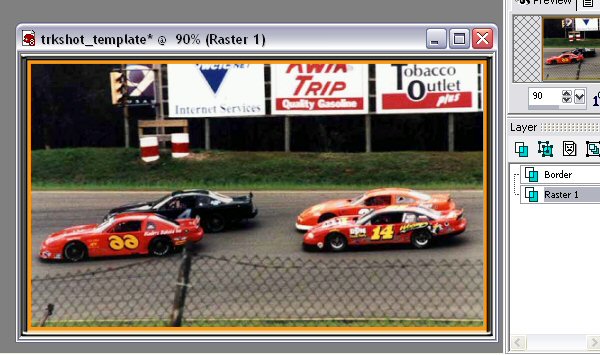
(Example: Image of Golden Sands used with permission from http://www.geocities.com/wogggieee/)
trkwin.stp (189 KB)
Use this template to create a trkwin newspaper picture. This template includes the border used by all N2003 trkwin files. It also includes both a Winston Cup title or a Busch Grand National title instead of the "NASCAR Racing Series" title the stock tracks use. There is a shadow layer included for the car when it is displayed in the newspaper.
For informational purposes there is a yellow line to show where the text that describes who won the race ends. There is also a car to show you how and where the winning car shows up on your picture. Make these two layers invisible before you save the file for the game.
You can use any picture you want for the background by placing it on the back layer. If you want to create the image from a location on your track, I've included a file called trkwin.cmf which has the values for the camera so it is in the same position the winning car displays in the newspaper. This is used with the Camera Control Master (CCM) tool created by Peter van der Burg and is available at his site GPLForever.
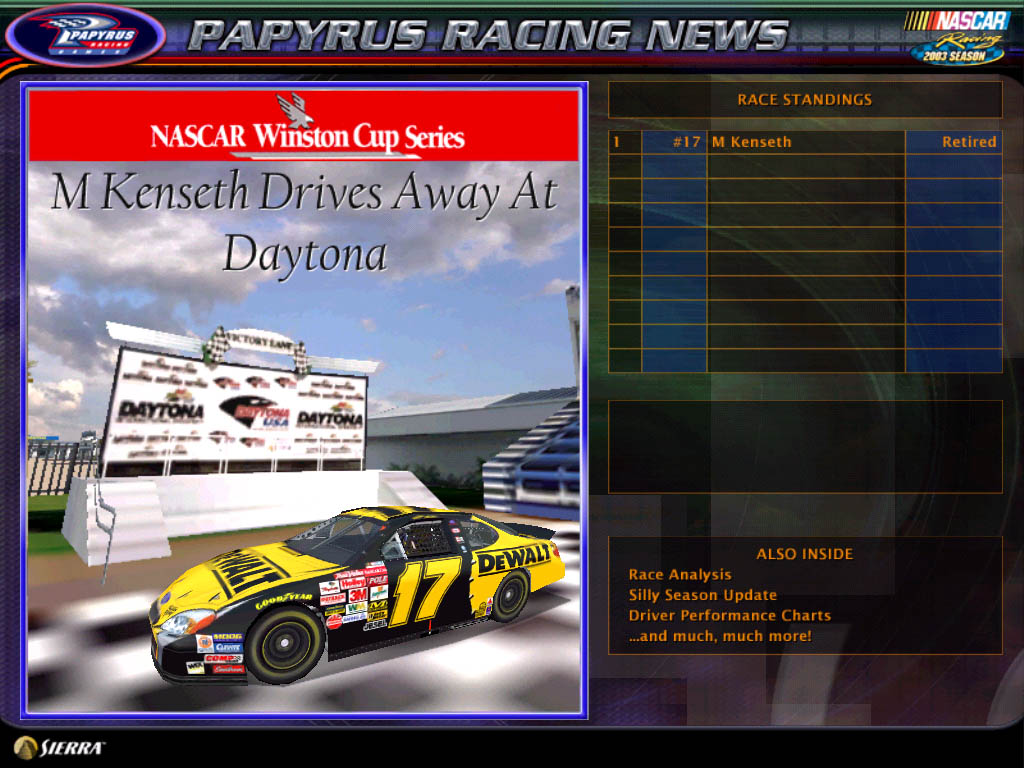
Remember to make the car layer invisible for the .stp file because the game displays the winning car on top of the picture. It does not display the shadow though so leave this in. Here is a screenshot of one I did for Daytona.
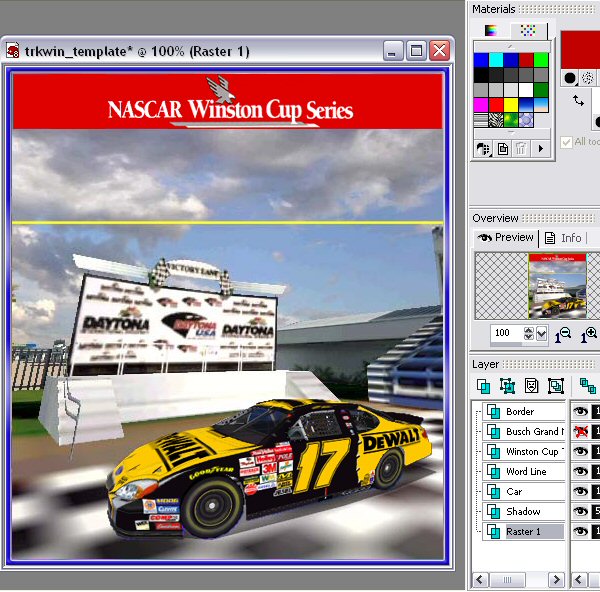
(Example: The Daytona victory lane in N2003)
trklogo.stp (3.41 KB)
There isn't really a template for this one just a black image with the correct size used by all other tracks. Drop the logo you want to use on this and save it as trklogo.bmp. You also need to create the transparency image for this one. If you have Paint Shop Pro, do the following:
Here is another way you to do this if you don't have PSP:
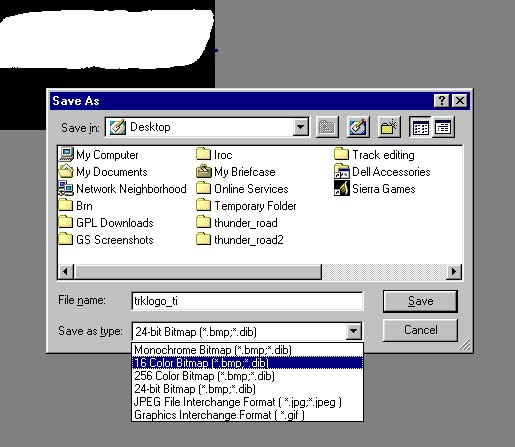
It is important that this image is saved as a 16 color bitmap because it won't convert to the .stp file format correctly otherwise. If your paint program doesn't save in this format copy it into MS Paint and save it in the correct format from there.

(Example: Thunder Road logo)