![]()
Use the Paint Bucket Tool to get rid of the main solid color, in this case the sky.
This makes all parts of the image with the selected color invisible. The tolerance determines how much different the color can be from the exact color you clicked on. A higher tolerance affects a wider range of colors. A good starting place is 32.
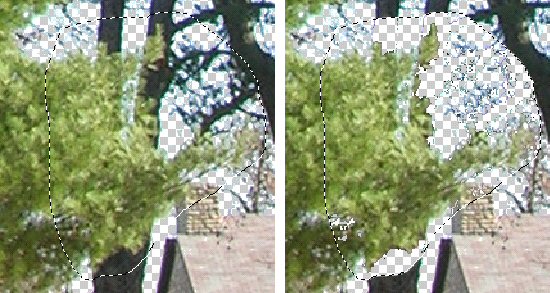
You'll have something that looks similar to this:

Repeat this process, clicking on any areas that don't disappear, until most of the sky is gone. Leave the blue around the edges of your object alone. You will deal with that later. For now you just want to knock out the majority of the background. Save your work when you are finished.
You can use this process for any colors behind your object that aren't too close to colors contained within the object. You can also make a selection around an area to localize the erasing to a specific part if the color is in your object elsewhere. This is worth trying in areas that are hard to erase around by hand such as tree branches. This works as long as the background isn't too close in color to the part of the object that is selected.
For removing the rest of the background, such as ground or other trees, move on to Section 3: Manual Removal.
Return to Photoshop 2D Object Tutorial Main Page