![]()
Now you are ready to take care of the background that remains around the edge of the object.
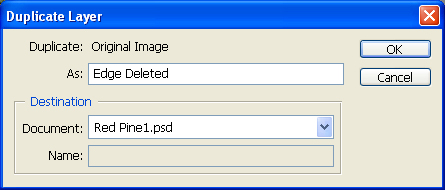
The reason to wait to delete the edge is because this is the part you'll most likely have to redo if the object doesn't turn out right. Duplicating the layer makes a copy of your work up to this point so you can come back to it if needed.
The question is how much of this edge do you delete? You don't want to get rid of all of it. If you are doing a tree you'll lose some of the smaller branches completely. This causes you to have pine needles or leaves that don't connect to the tree anymore. You do have to get rid of some of it though. If there is too much you'll have a noticeable greenish/gray glow around the object at the end.
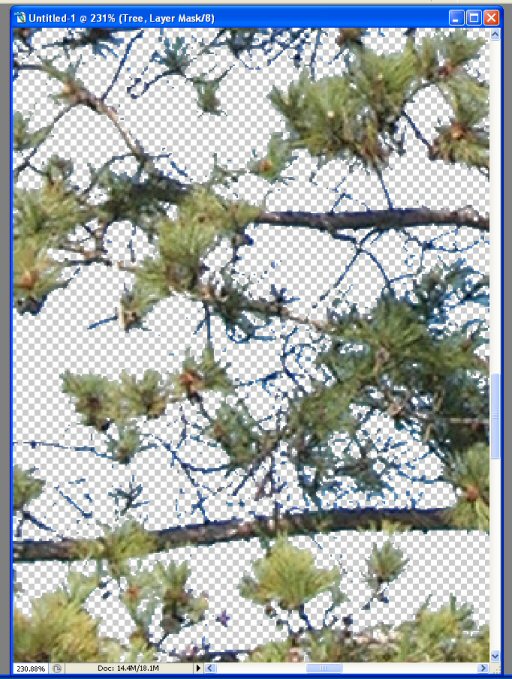
What you want is to get rid of as much of the edge without losing pixels that are obviously part of your object and just tinted. You will fix these pixels that remain with a color correction later. To help give you a better idea, here is a close up view of the branches on this tree after completing this section:
This is the hardest part of the process to get right. It takes a few tries to get a feel for how much to remove.
Use the Paint Bucket Tool to delete the pixels, similar to how the background was removed in Section 2.
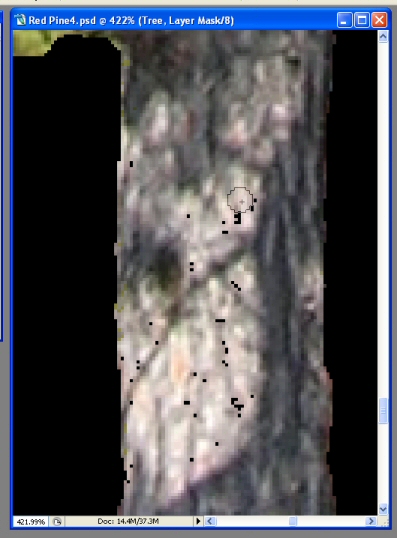
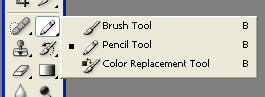
When doing this part you also need to watch out for losing pixels on the trunk or other interior parts of your object. If the problem is bad enough you may have to undo changes until you get enough of your object back. Otherwise just manually patch the holes back in with the Pencil Tool. Turning on your black and white backgrounds may help you spot more of these holes that need patching.
Once you think you have it right save your file again. You don't need to worry about saving under different file names if you duplicated the layer at the start of this section. All of the work prior to this section is on the Original Image layer.
Next is Section 5: Fixing the Color.
Return to Photoshop 2D Object Tutorial Main Page